Good news! New launched XTUNER T1 HD scanner is now available! This is software installation guide including download and setup the Client, install and activate software.
If you want to know more info about XTUNER T1 first, you can check this:
http://blog.eobdtool.co.uk/new-launch-xtuner-t1-heavy-duty-truck-diagnostic-tool/
If you want to go directly for software installation part, then let’s check below:
Step1. Download XTUNER T1 HD V8.0 setup software from official website:
http://www.tdintel.com/uploadfile/2017/0113/XTUNER-T1_SETUP_V8.0.rar

Step2. Unzip and run XTUNER T1 SETUP V8.0.exe.

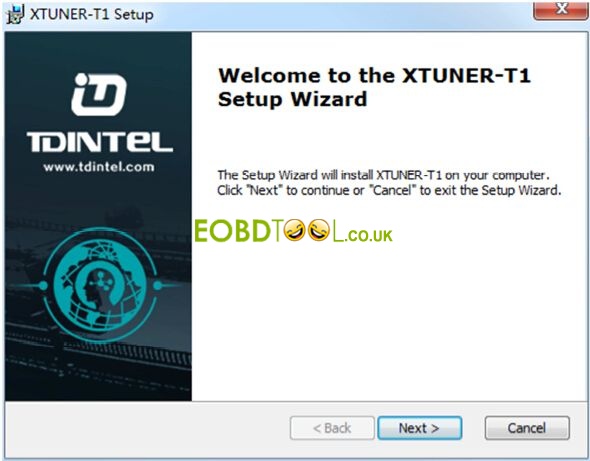
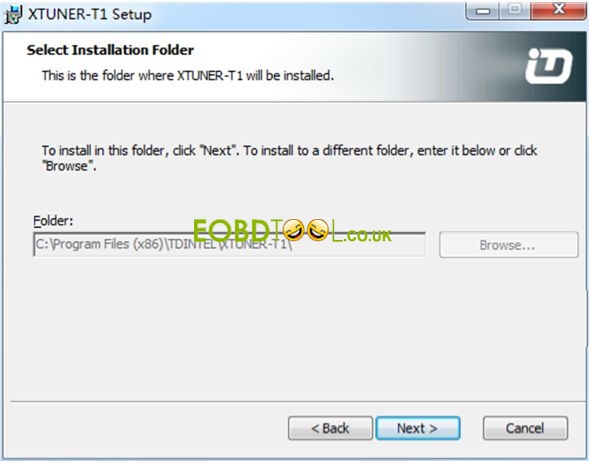
Step3. Welcome to XTUNER T1 Setup Wizard. Click “Next”→ “Next” → “Install”.

Then click “Finish” to complete SETUP.
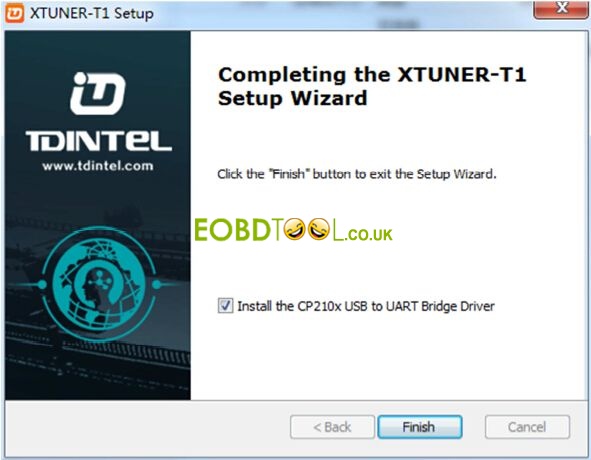
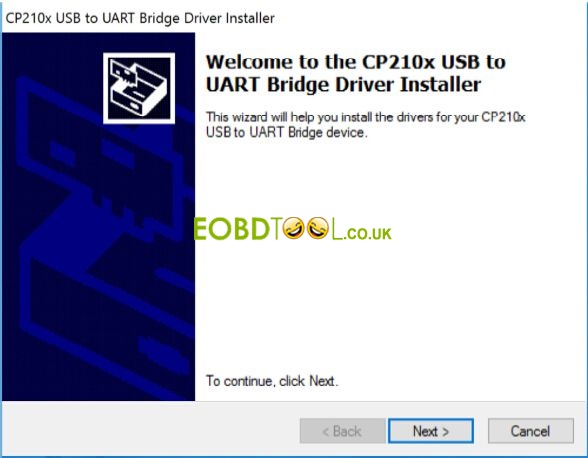
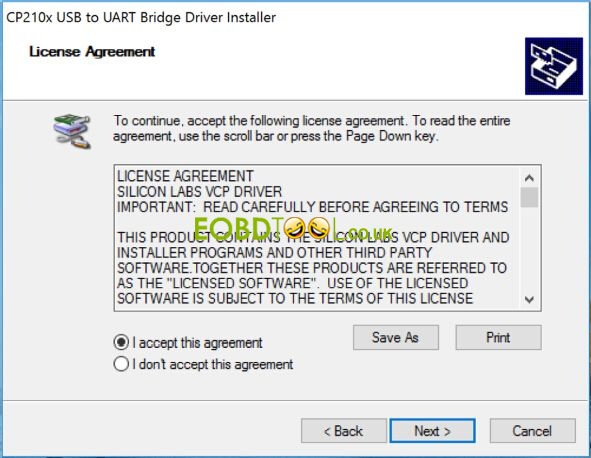
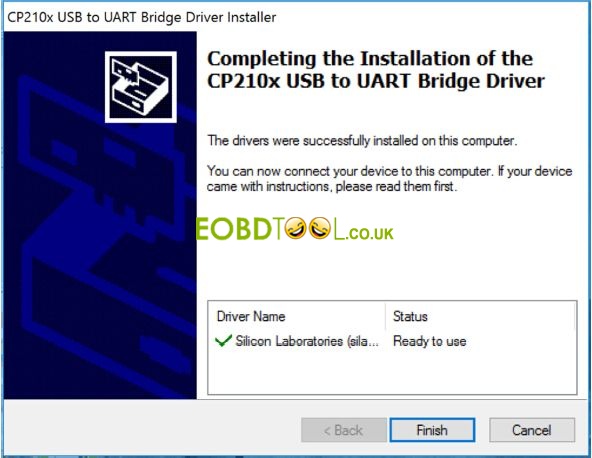
Step4. Install XTUNER T1 USB driver “CP210x USB to UART Bridge Driver”. Click “Next” → “I accept this agreement” → “Next” → “Finish”.
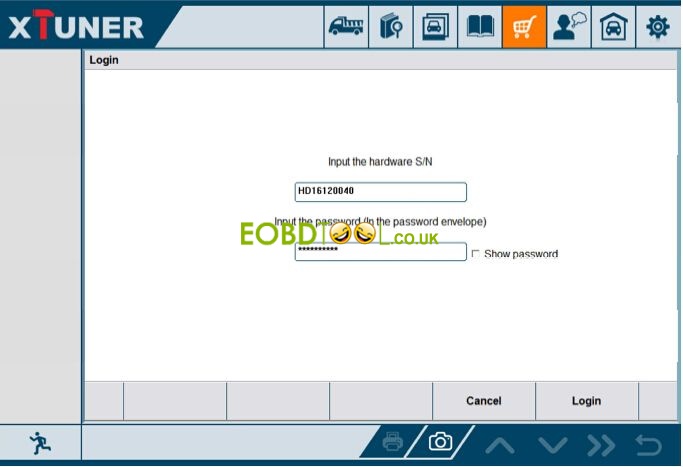
Step5. Activate XTUNER T1 software. Keep the network working then run XTUNER T1 software app.

Click “Online Store”

You need to input the serial number and password. (You can find them on the envelope)

Step6. Click “Login” and “Yes” then you need to fulfill user information table as below:
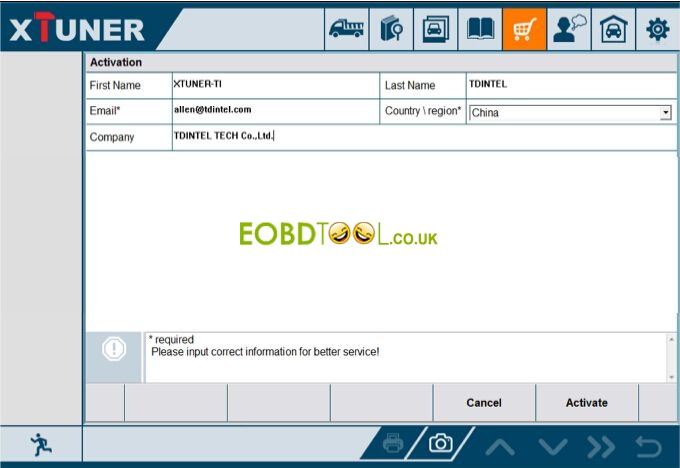
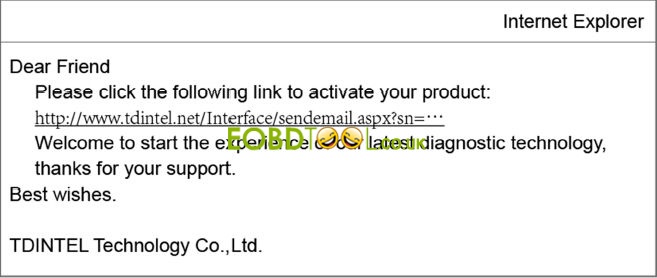
Click “Activate” and “Yes”, now you will receive the activation link in your email box. Click the link to complete XTUNER T1 software activation.
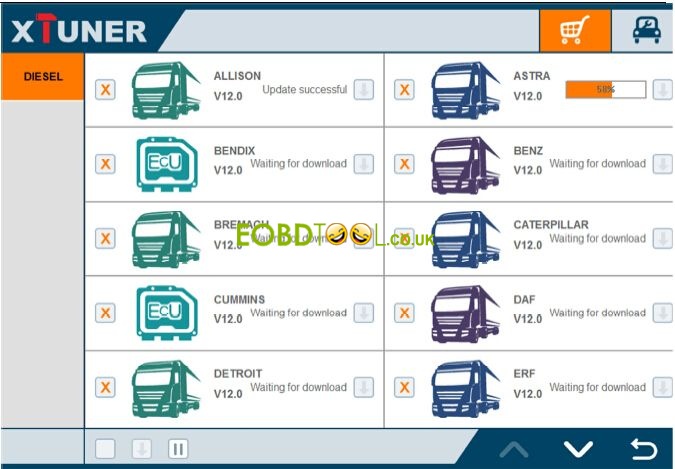
Step7. Login in “Online Store” again and download specific software you need. Now you can use this XTUNER T1 Heavy Duty Diagnostic Tool!