How to read MQB NEC35xx chip IMMO data and add new key with VVDI Key Tool Plus? There are two methods: by Lift PIN and Cut PIN. We’ll mainly introduce the Lift PIN diagram method in this post.
Something important to know!
VW MQB add key & all key lost functions have been officially released on March 16. For activating Xhorse MQB authorization successfully, please be sure to meet the following requirements.
1.To activate the feature, you need to own a VVDI Key Tool Plus Full Configuration or VVDI2 Full Version +VVDI PROG (both key tool plus and vvdi2 have VW software and Prog function)
2.Register your Key Tool Plus/ VVDI2 before activation
3.Buy the Xhorse MQB Authorization and provide your device SN (incl. Key Tool Plus/Xhorse VVDI2 and VVDI Prog) to our customer service for activation.
4.Once the MQB authorization is opened, you only can use the corresponding device to read data. If you use other programmer to read, then the VW MQB add key/all keys function will not be supported.
NOTE:
- All keys lost needs third-party cooperation to obtain certain data, and may incur extra charges.
- Support read IMMO data for MQB48 type (with NEC35xx chip) which can’t read by OBD or all key lost.
- Support add key and all key lost (need synchronize data).
Xhorse VVDI2+VVDI Prog read VW MQB48 NEC35xx IMMO data successfully, click here to check.
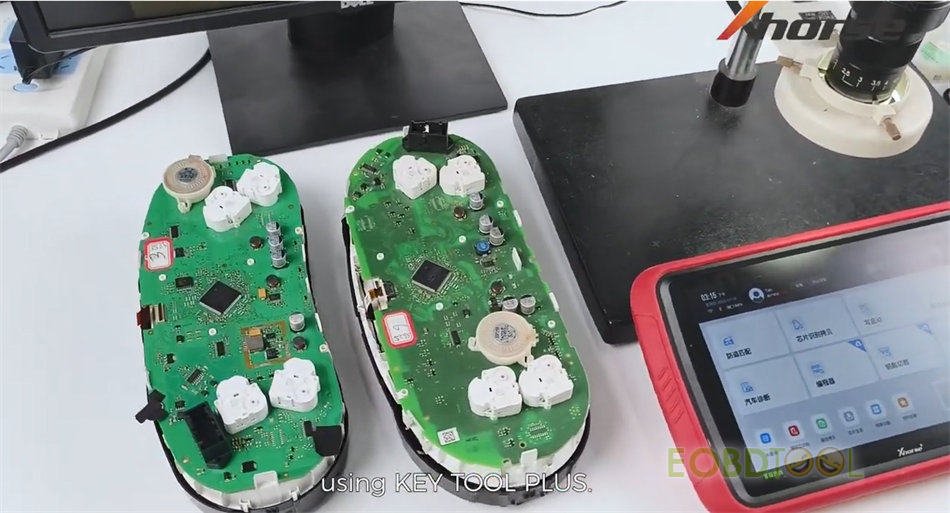
Now let’s see how to use Xhorse Key Tool Plus to read MQB48 NEC35xx locked IMMO data.
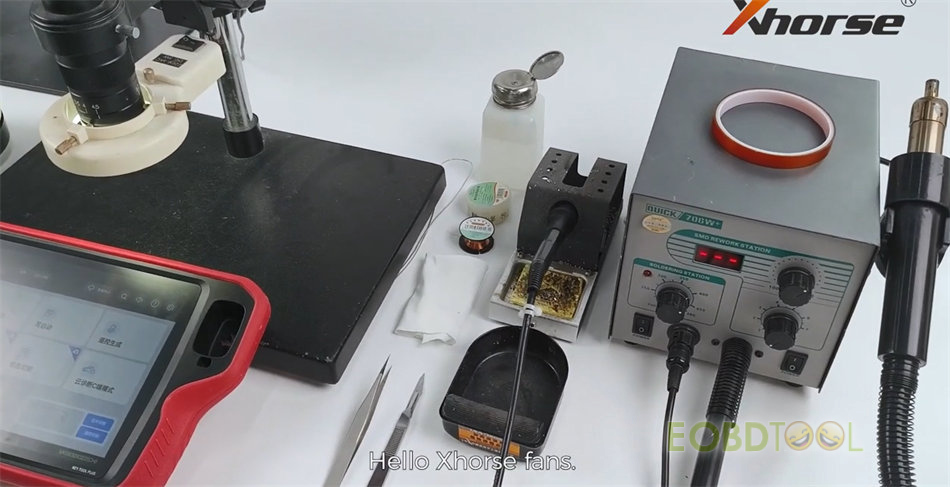
Prepare all goods below.
Device and dashboard:
Xhorse VVDI Key Tool Plus Pad Full Configuration
Volkswagen MQB dashboard
Assistant tools:
- Scaling powder
- Hot-air gun
- Enameled wire
- Gummed paper
- Electron microscope
- Tweezer and Operating knife with pointed tip
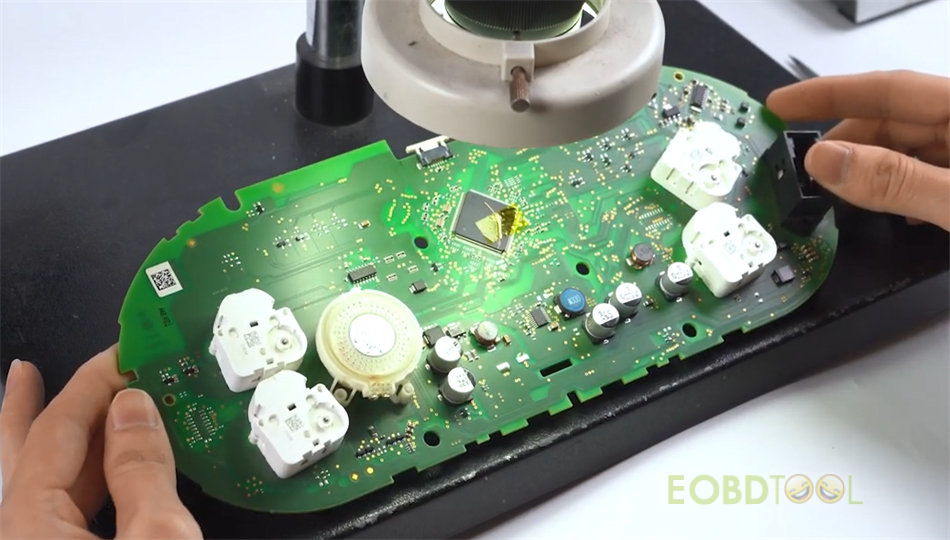
1.Lift PIN from CPU and connect with Key Tool Plus
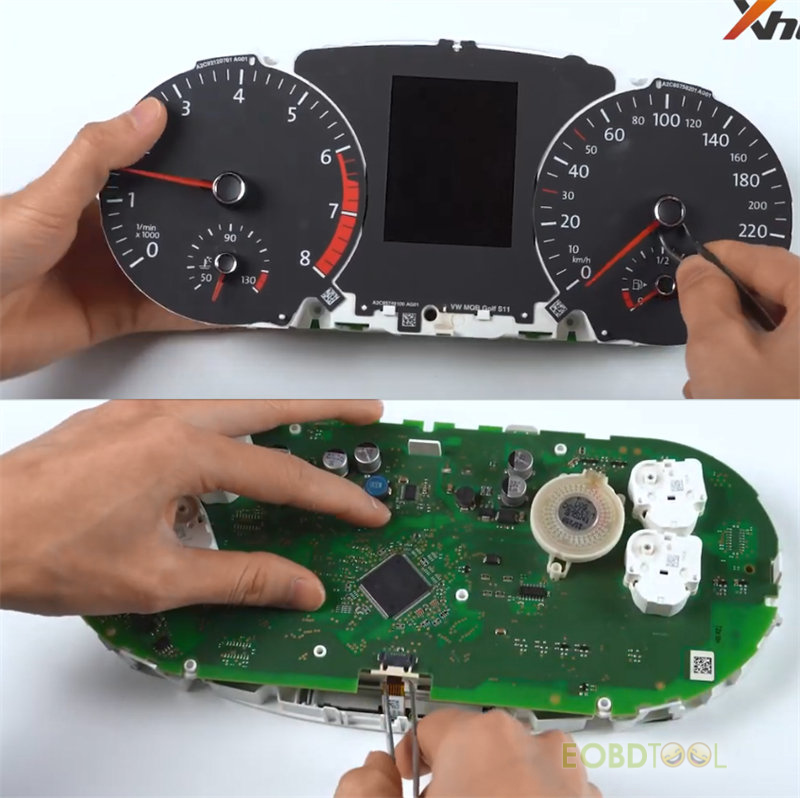
Firstly remove the dashboard from the car, whether you’re doing MQB add new key or all keys lost.
Then we we’ll read the chip data on the PCB board.
Pull off the needles using a tweezer or keep the needles is also OK
Unplug the clip and take out the PCB board
Check the MCU carefully
Before using the MQB new feature, please make sure the IMMO database on the Key Tool Plus has been upgraded to the latest version.
Tap IMMO Programming>> VW>> Select by type>> MQB instrument immo system>> instrument- MQB (VDO/JCI- NEC35xx lock)>> Start programming
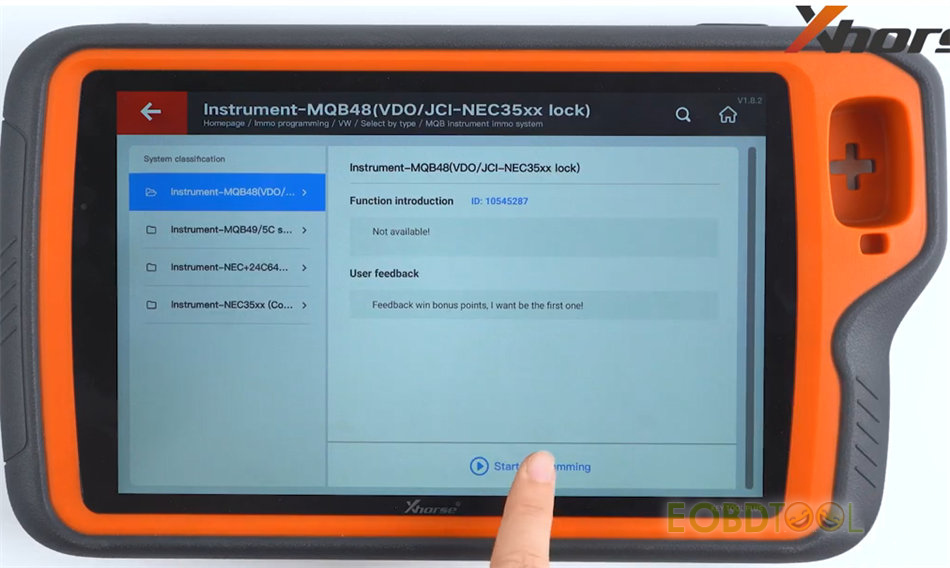
Read the disclaimer on the screen carefully and press OK to continue
This function needs to connect with network. Make sure the network connection is normal.
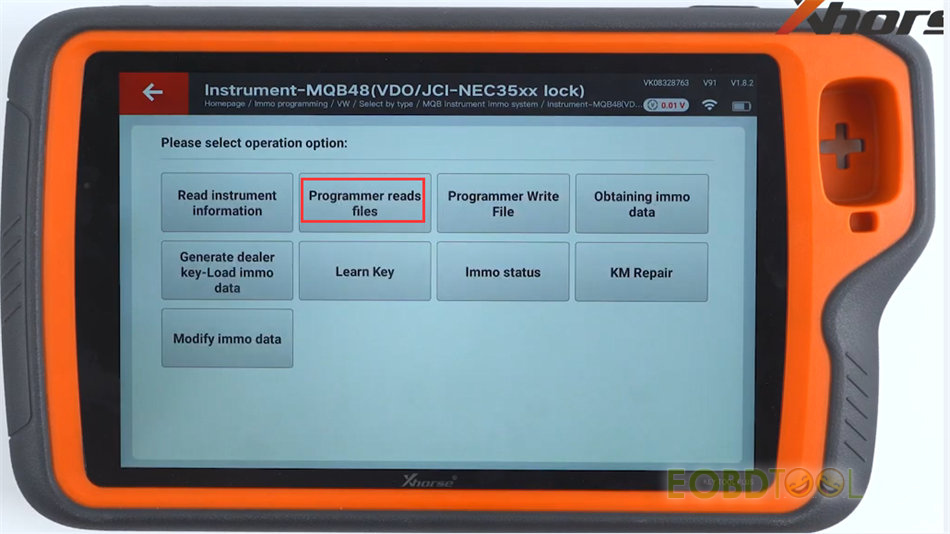
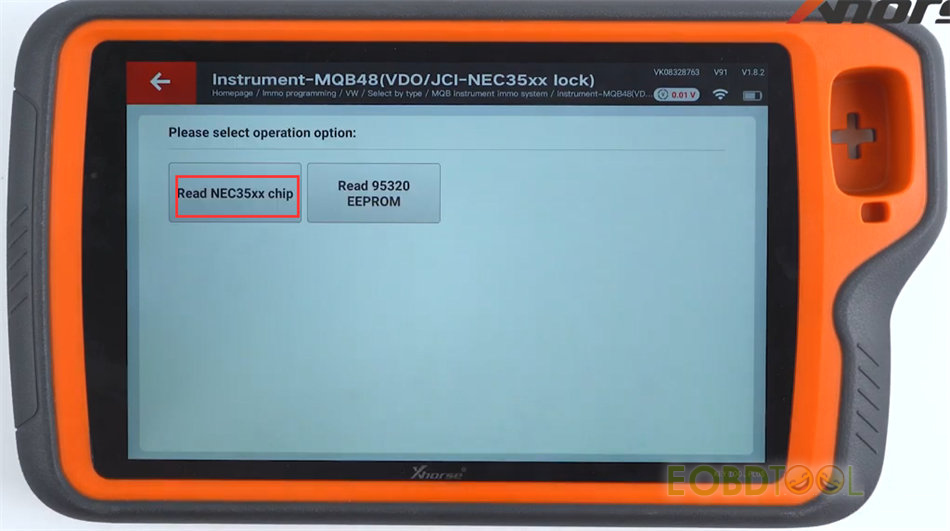
Select Programmer reads files>> Read NEC35xx chip
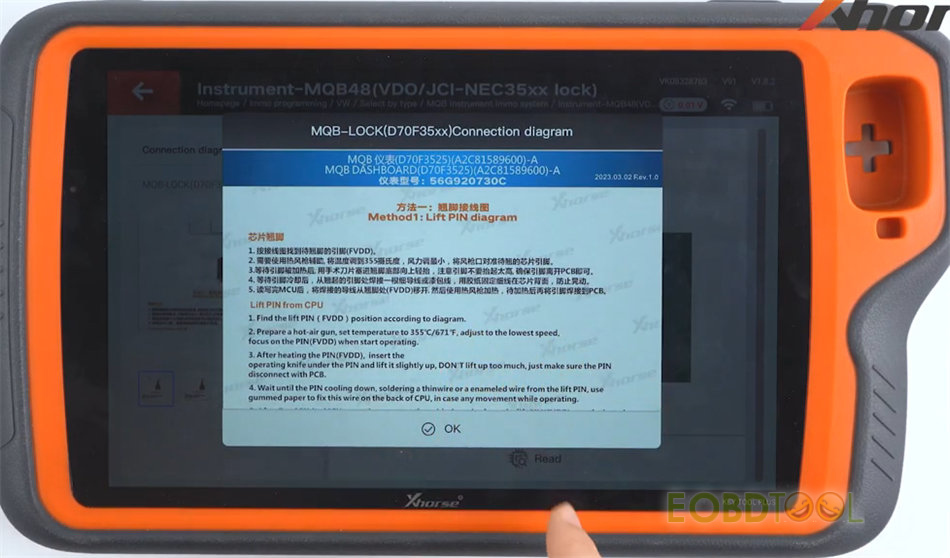
It will show the connection diagram, description and adaptor.
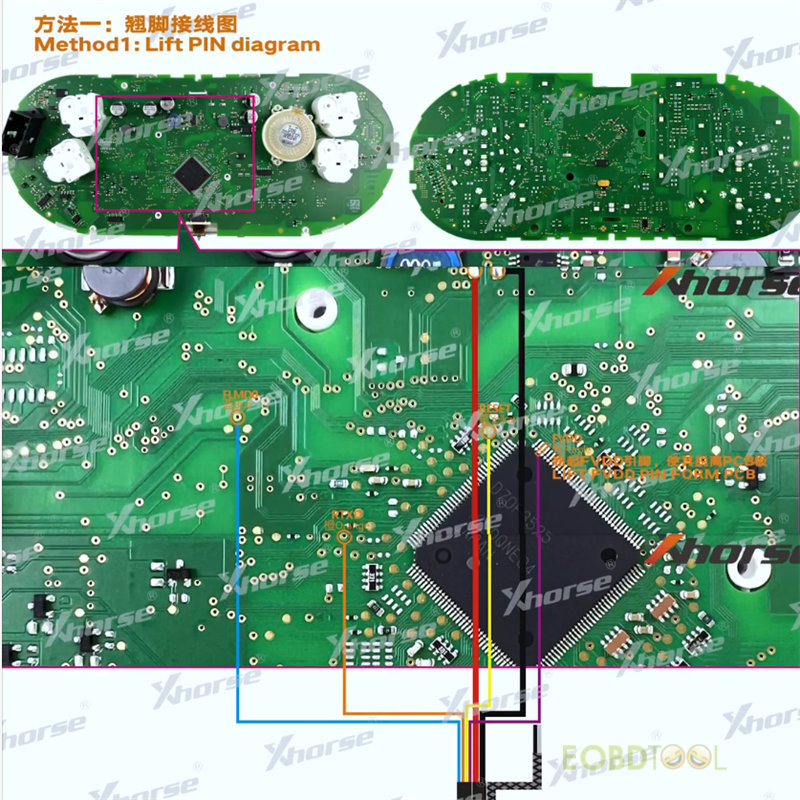
Check the wiring diagram carefully
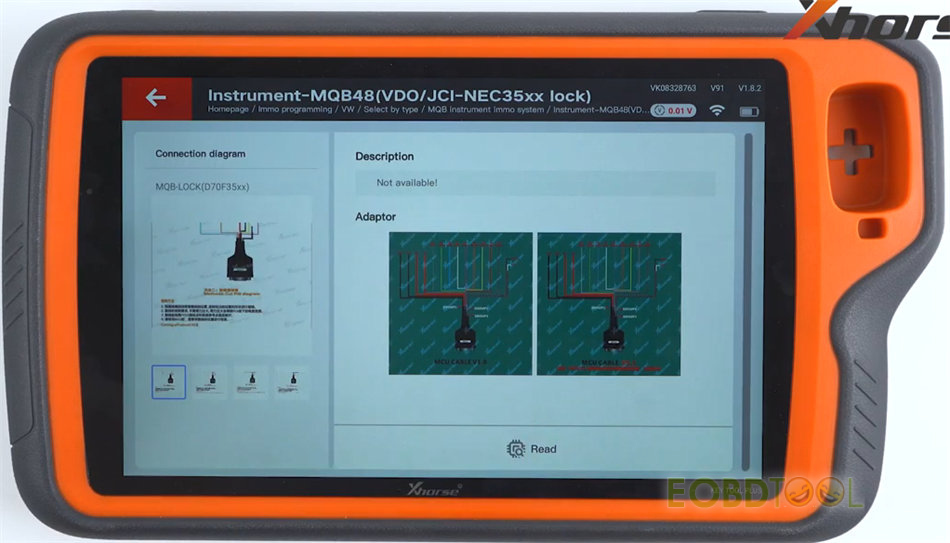
And locate the one that is same to dashboard MCU
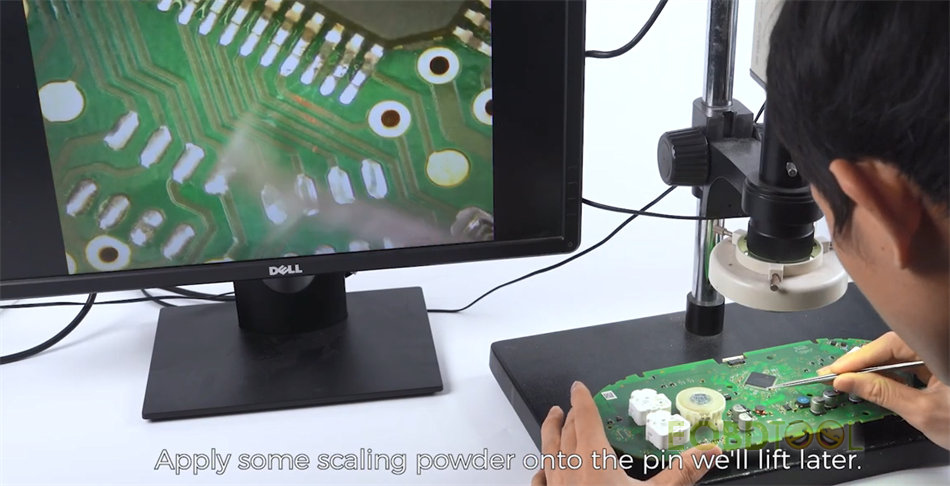
Follow the on-screen instruction to lift PIN from CPU
Step 1: Find the lift PIN (FVDD) position according to diagram.
Step 2: Prepare a hot-air gun, set temperature to 355/671, adjust to the lowest speed, focus on the PIN (FVDD) when start operation.
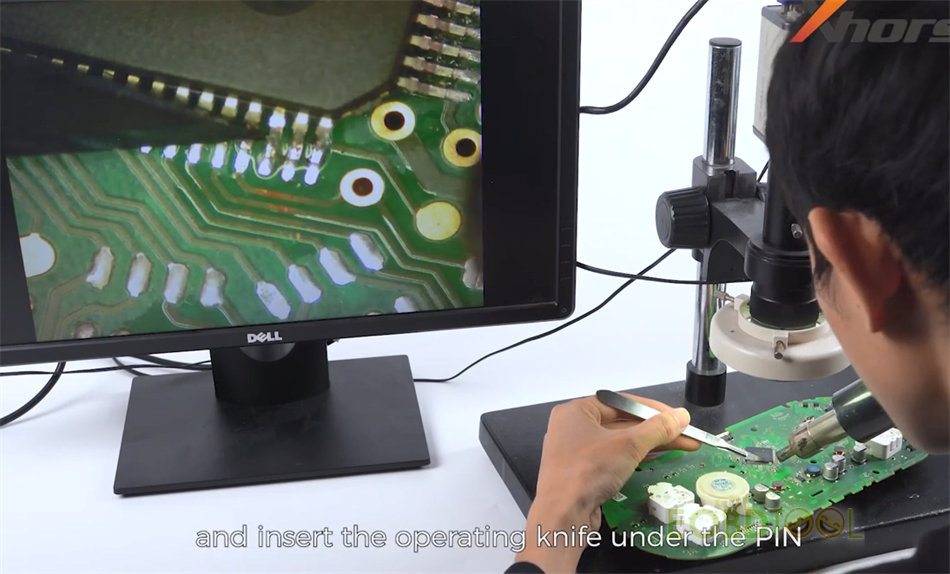
Step 3: After heating the PIN (FVDD), insert the operating knife under the PIN and lift it slightly up. DON’T lift up too much, just make sure the PIN disconnect with PCB.
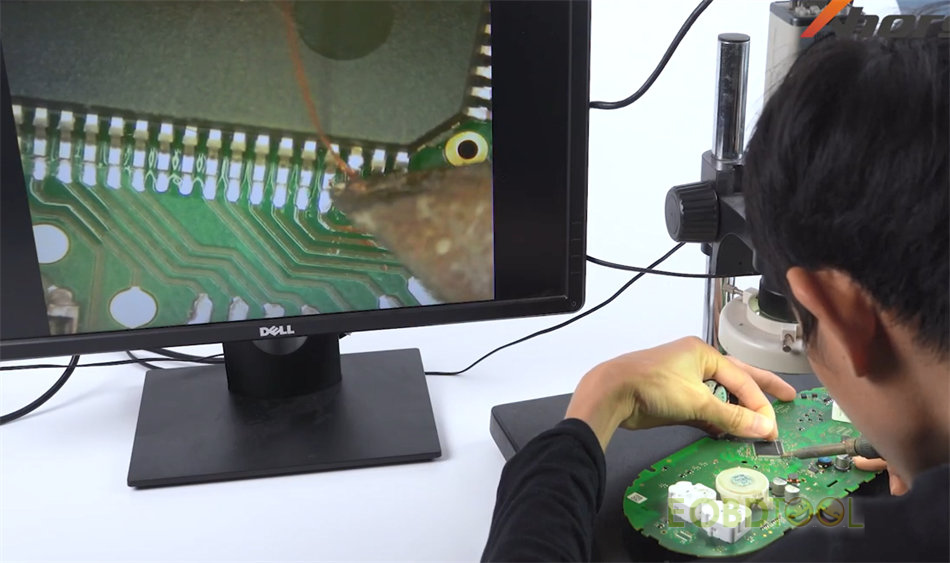
Step 4: Wait until the PIN cooling down, solder a thin wire or an enameled wire onto the lift PIN, use gummed paper to fix this wire on the back of CPU incase of any movement.
Step 5: After Read/Write MCU operation, remove the soldering wire from the lift PIN (FVDD). Use the hot-air gun heating the PIN again, then solder the lift PIN back to PCB (original position).
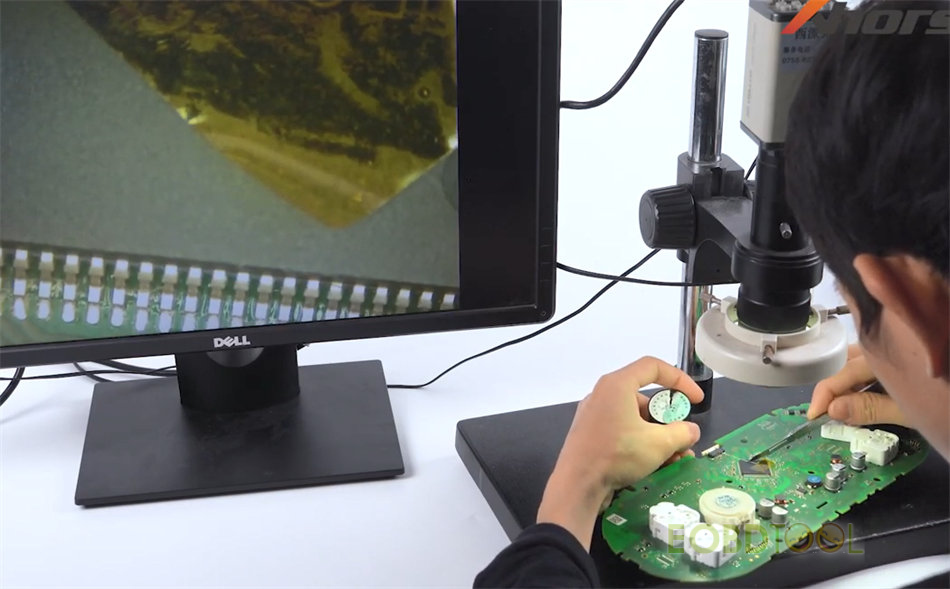
After that, follow the wiring diagram to solder the MCU, and connect Key Tool Plus to PCB board via the Xhorse DB15 adapter cable
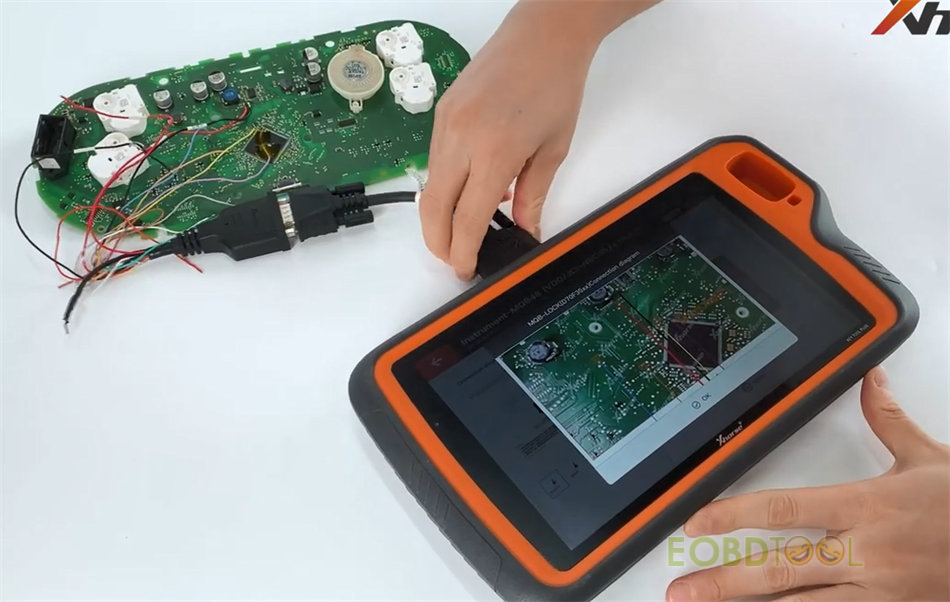
2.Read MQB IMMO data
Click Read to continue
Make sure the adapter and chip connected, press Continue to start the operation
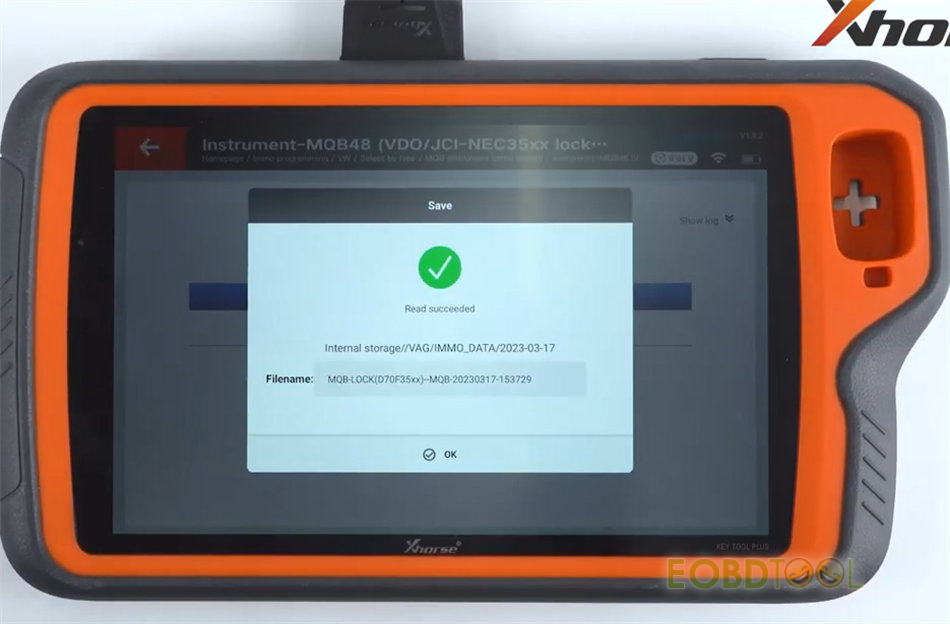
The whole process will take 3-5 minutes
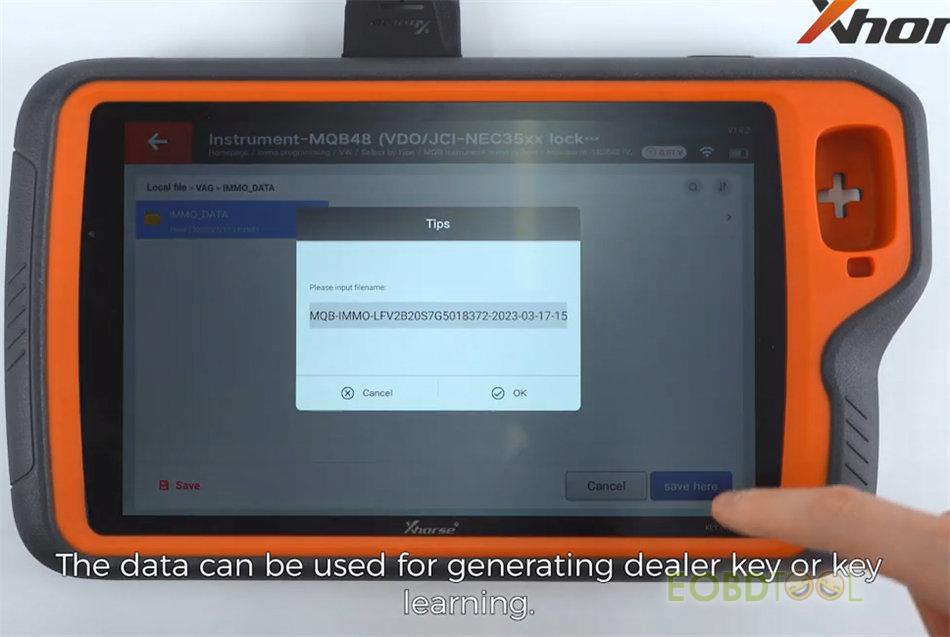
Read succeeded and save the original IMMO data with a new filename.
The immo data can be used to generated dealer keys and key learning.
3.Add new key
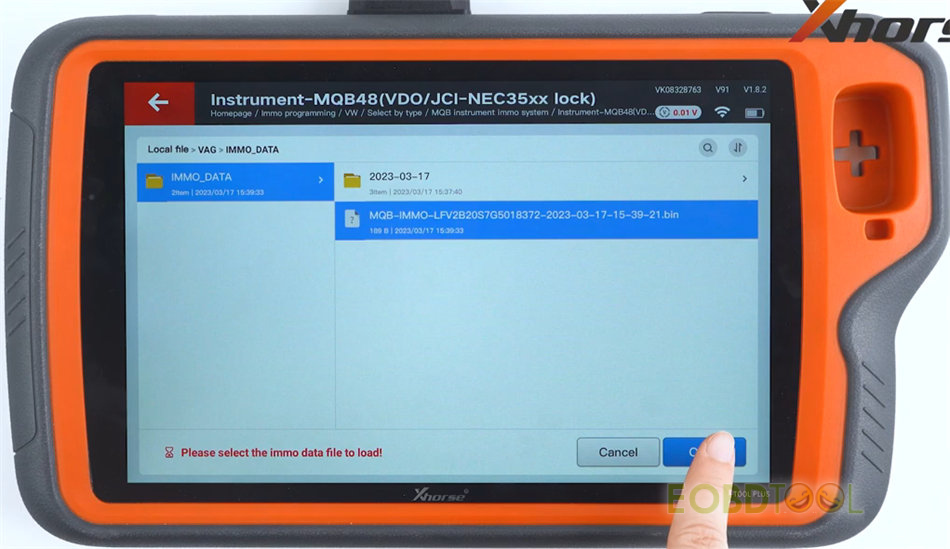
Select Generate dealer key- load immo data
Select the original data file just saved and open
Choose VW>> prepare normal dealer key>> read the warning and continue
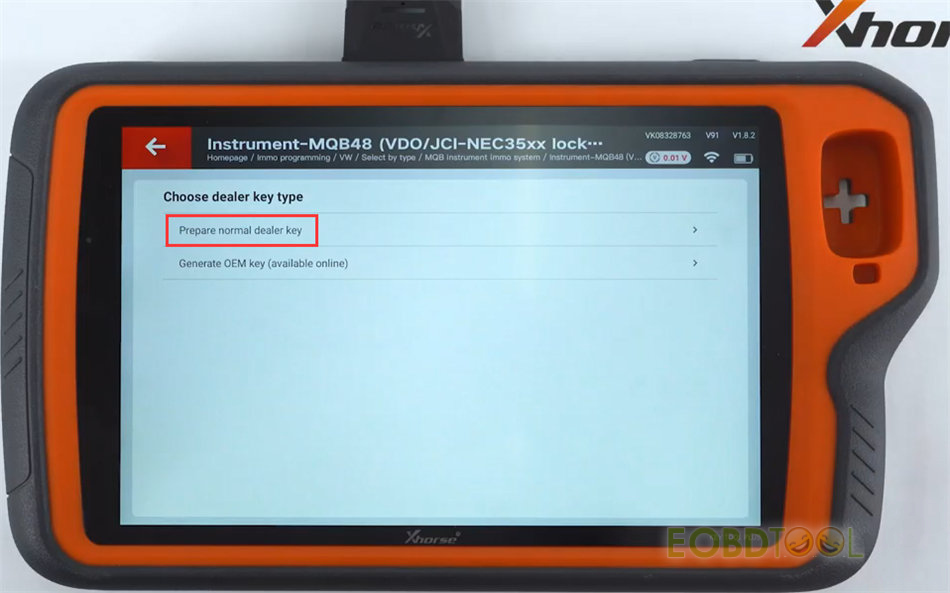
Click Yes to make VW normal dealer key and make sure the brand is correct.
Select Add key- You should have a working key
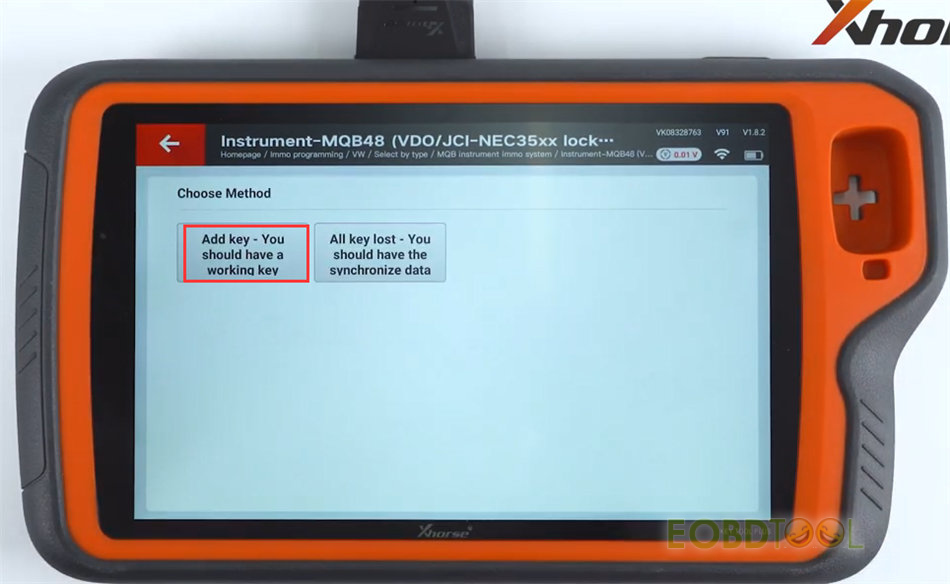
Input an original working key to the coil of VVDI Key Tool Plus Pad and press OK to continue
Wait a moment till the key programming process is completed.
Done!
Video guide: