Ford V100.03 for VXDIAG VCX NANO now is free to download and install. You can use the IDS V100.03 directly on VMware.
This writing is setup guide and test process for VXDIAG VCX NANO Ford V100.03. The software is run on VMware to lock the system time. So users can use this software for lifelong time instead of three-day trial period. VXDIAG VCX NANO is compatible with original Ford/ Mazda IDS software.
Ford V100.03 VM download link:
https://mega.nz/#F!9wRz1Bha!WAs4sDRy4sqhyJLtQnTyiA
Check more info of VXDIAG VCX NANO V100.03 at:
http://www.eobdtool.co.uk/wholesale/vxdiag-vcx-nano-diagnostic-tool-for-ford-mazda.html
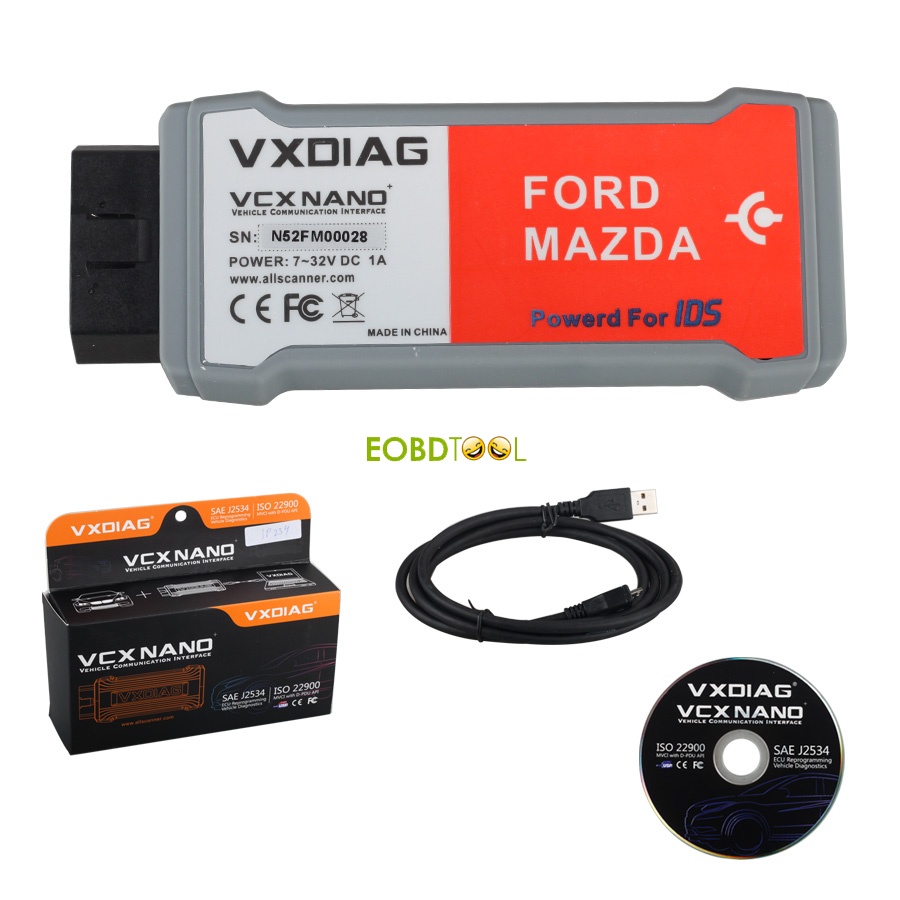
VXDIAG VCX NANO V100.03 Picture:
Part1. VXDIAG VCX NANO IDS V100.03 Setup
Follow these steps to install VXDIAG VCX NANO IDS V100.03:
Step1. Install VMware player
1.Open “CD drive [E:] VCMII Ford”→ “VMware player.exe”, you will see “Welcome to the installation wizard for VMware player”, click “Next”;
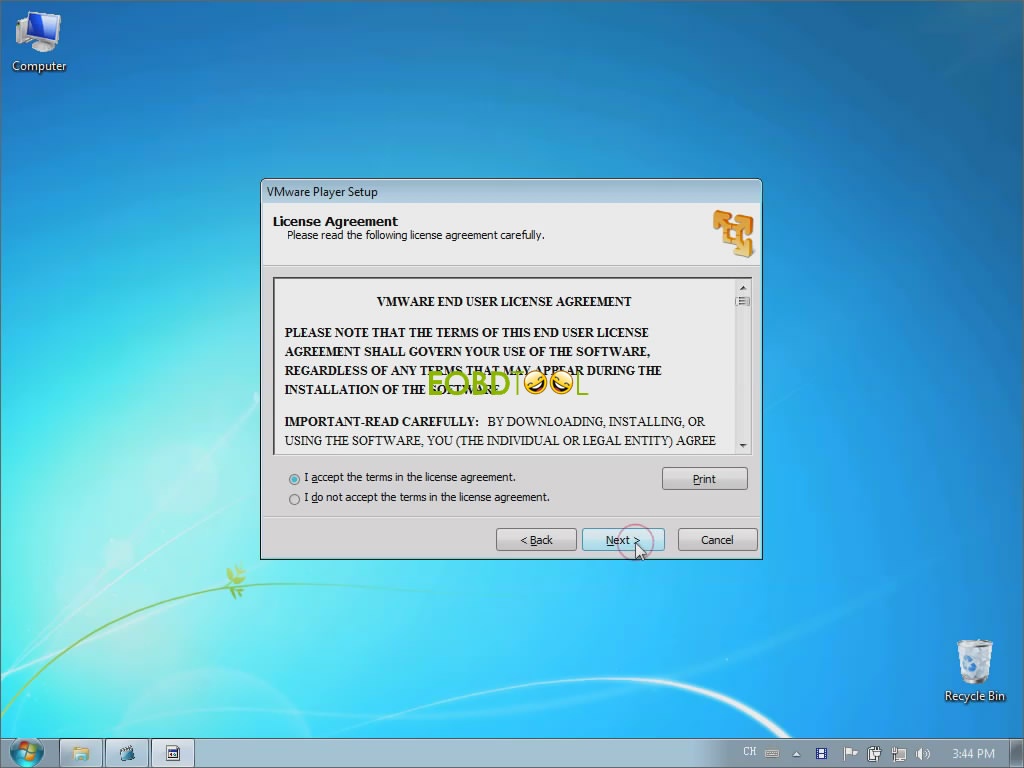
2.“License Agreement”, choose “I accept…” option, click “Next”→ “Destination Folder”, click “Next”;
3.“Software Updates”, cancel the tick of checkbox “Check for product updates on startup”, click “Next”;

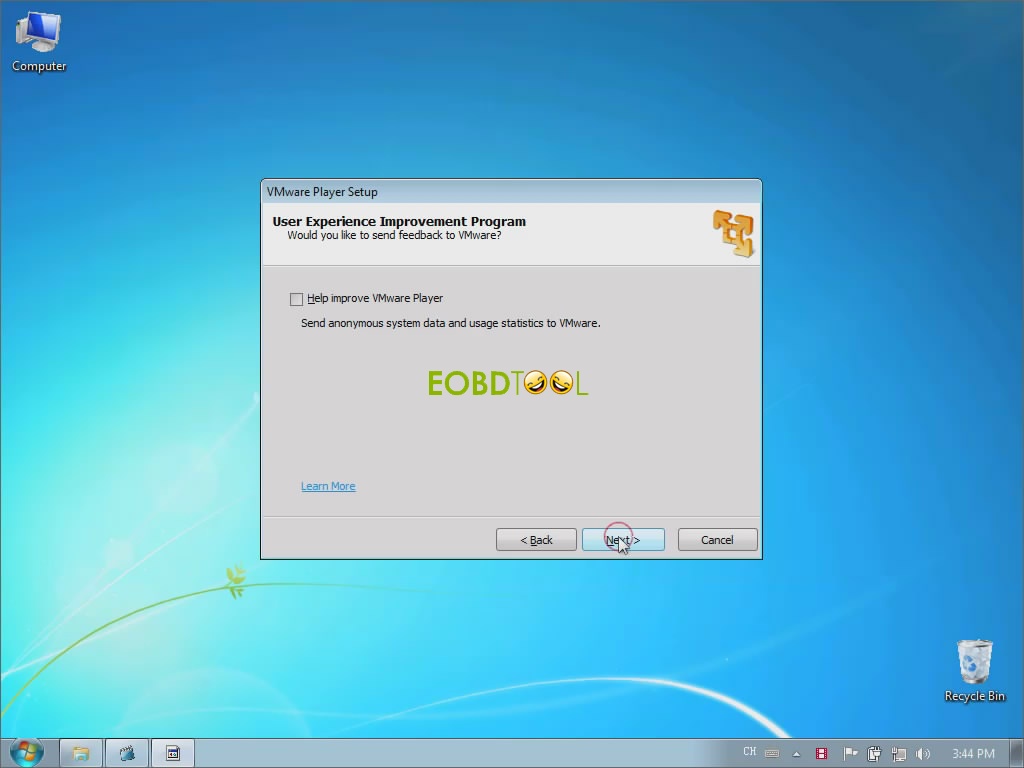
4.“User Experience Improvement Program”, cancel the tick of checkbox “Help improve VMware Player”, click “Next”;
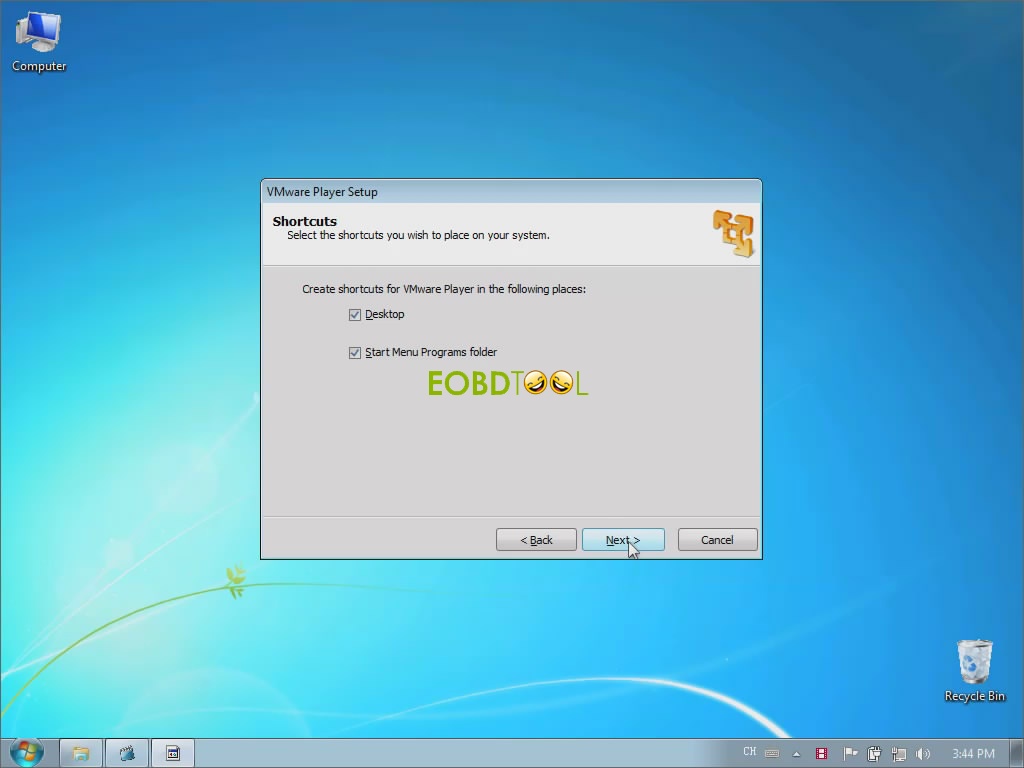
5.“Shortcuts”, click “Next”→ “Ready to Perform the Requested Operations”, click “Continue”→ “Setup Wizard Complete”, click “Finish”;
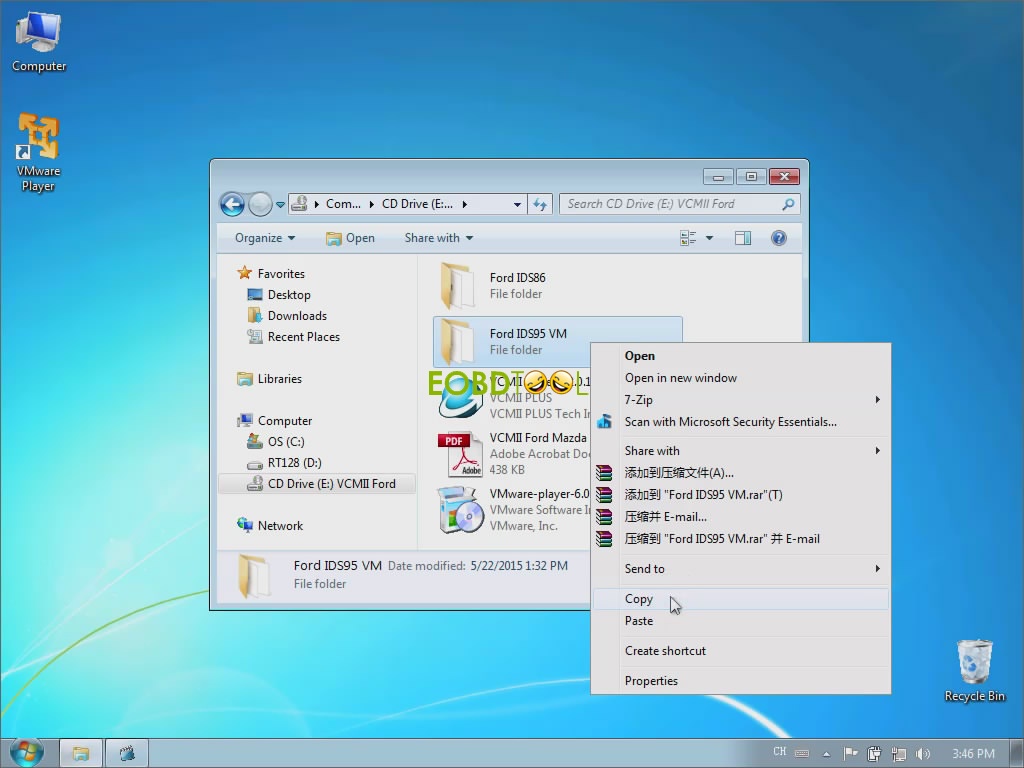
Step2. Copy the VM files to Disk [C:]
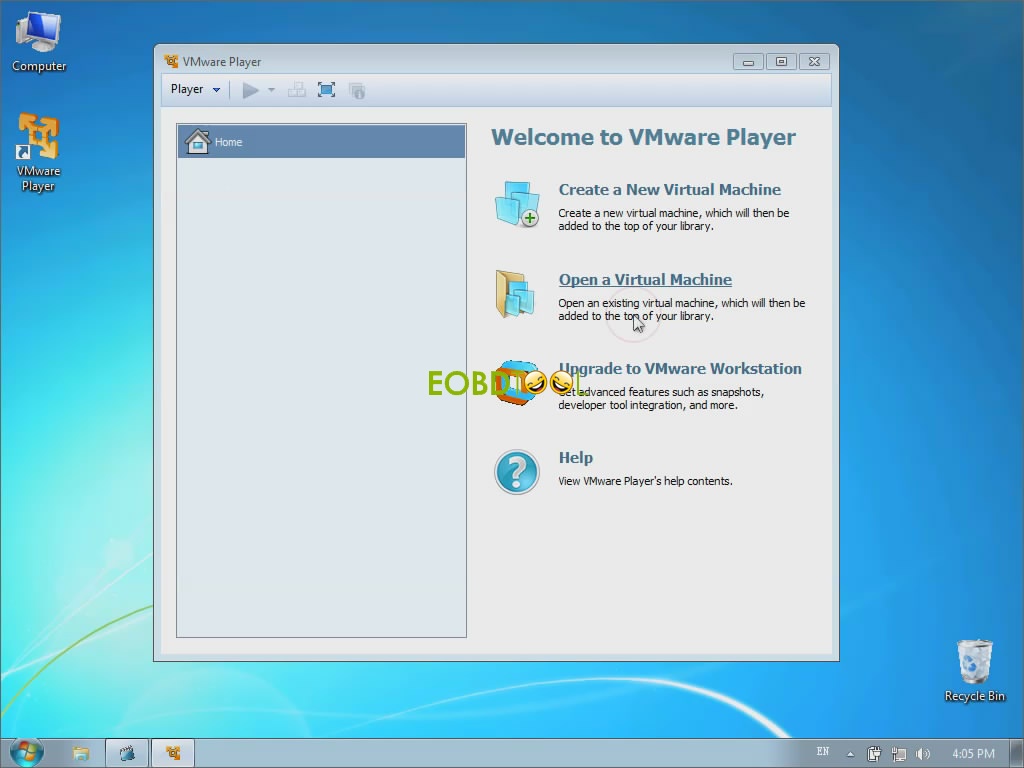
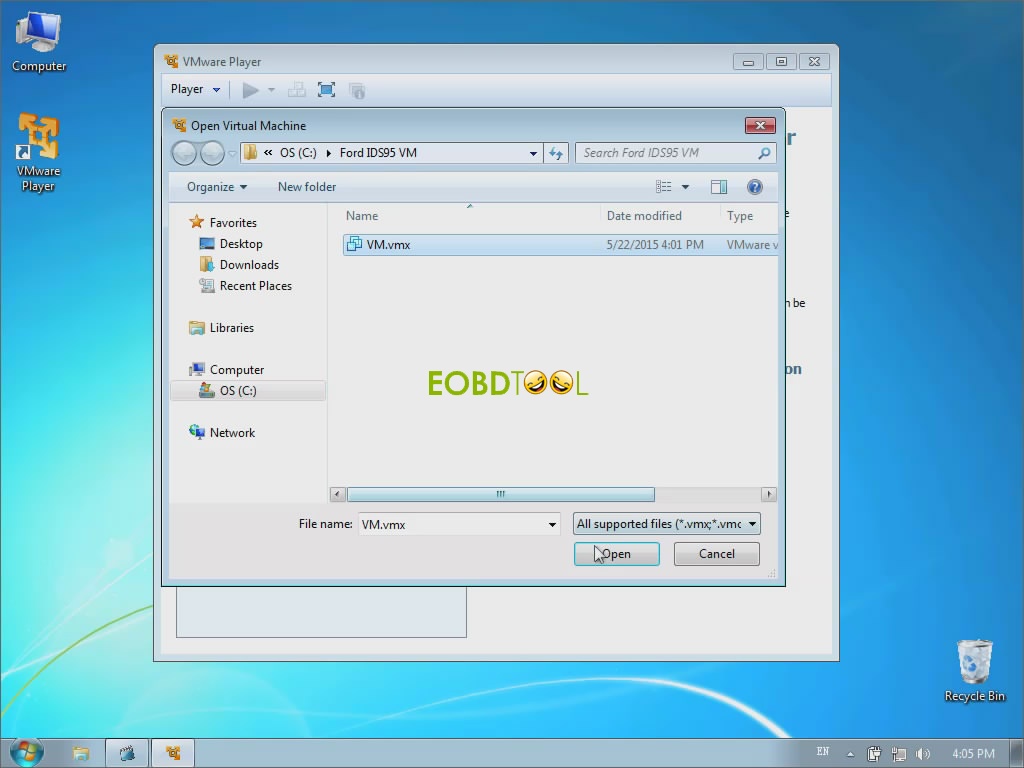
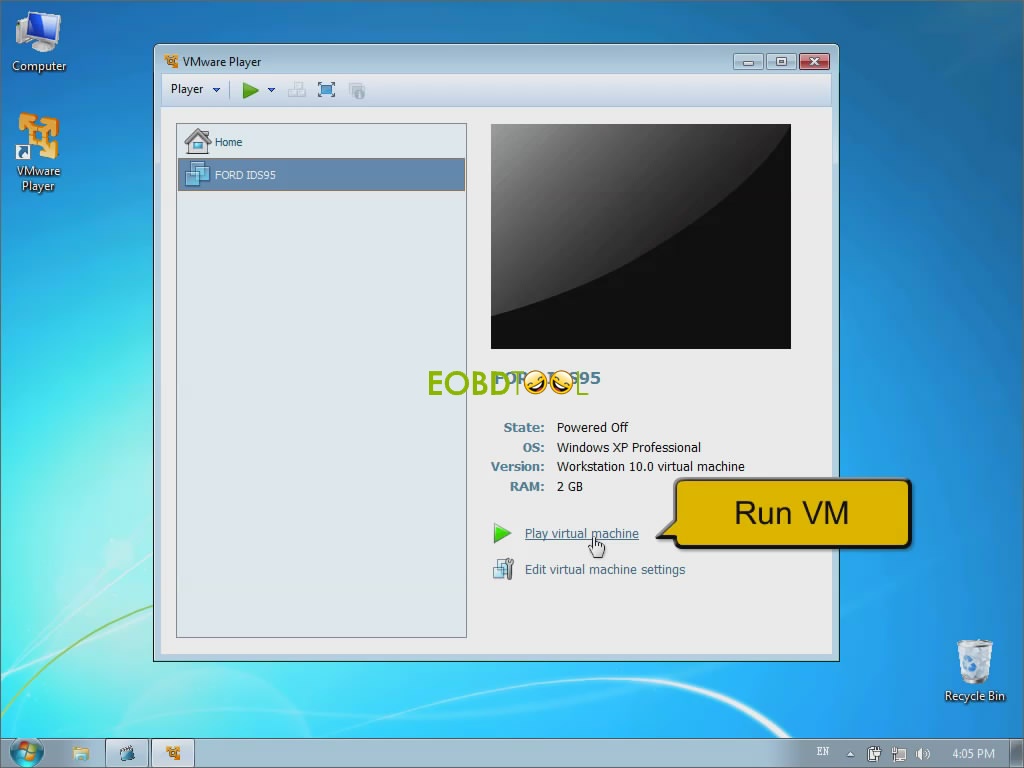
Step3. Open “VMware Player” shortcut, choose “Open a Virtual Machine”, and click “VM.vmx” to open VM file;
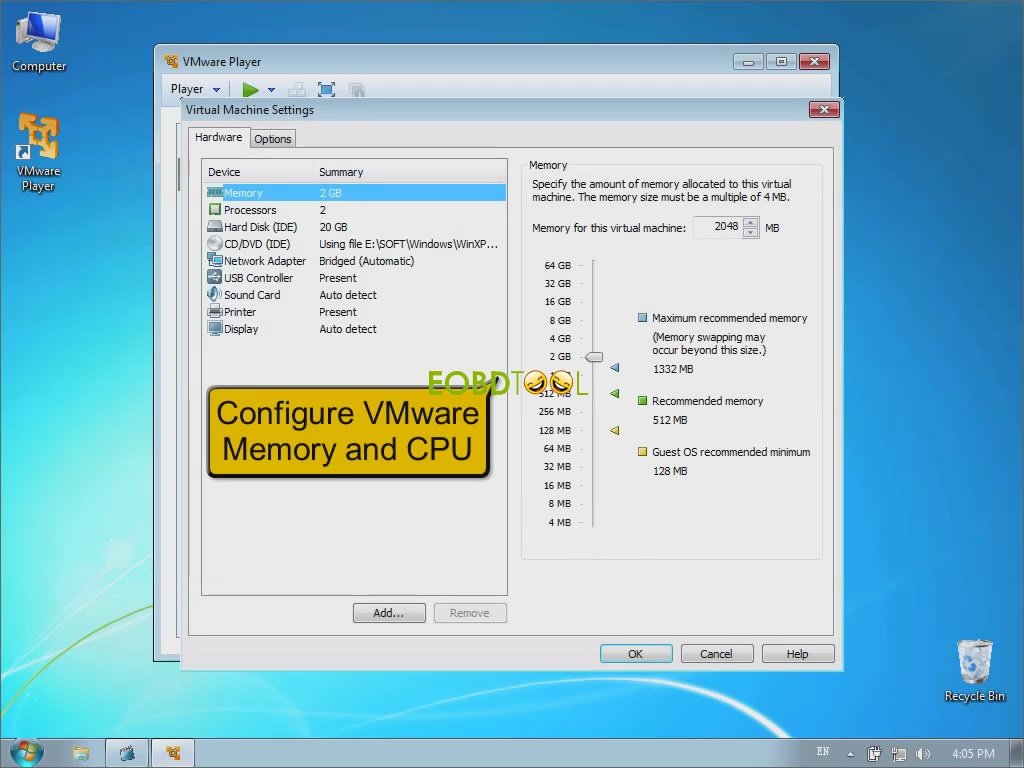
Step4. Edit virtual machine settings, do as follow picture:
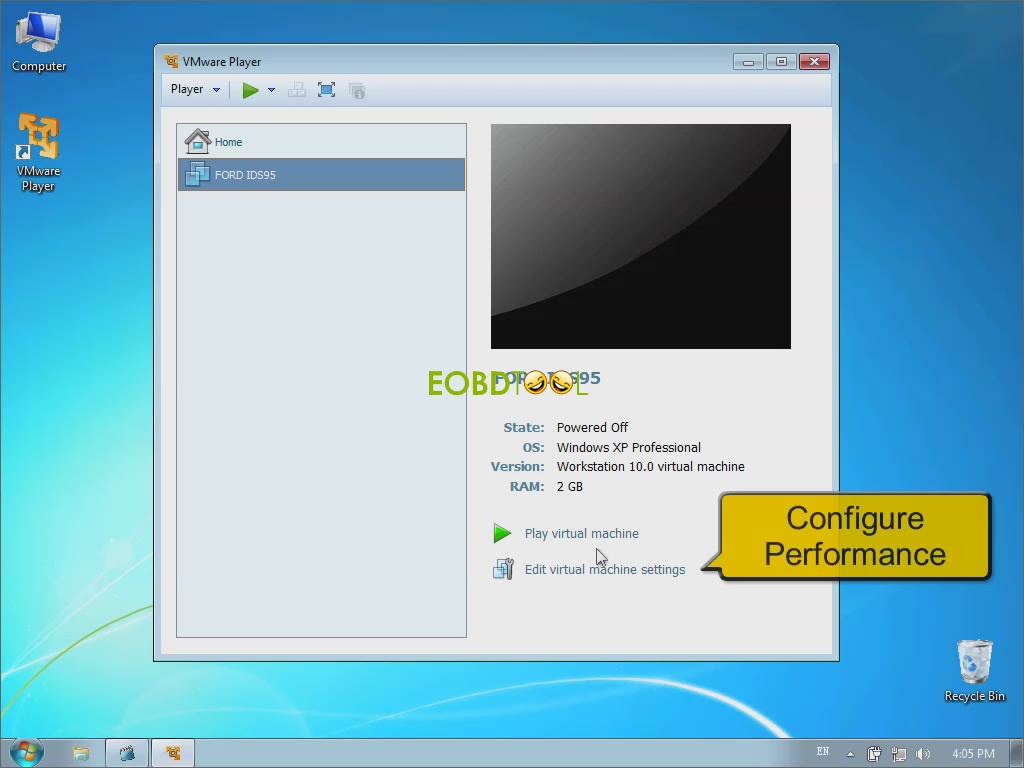
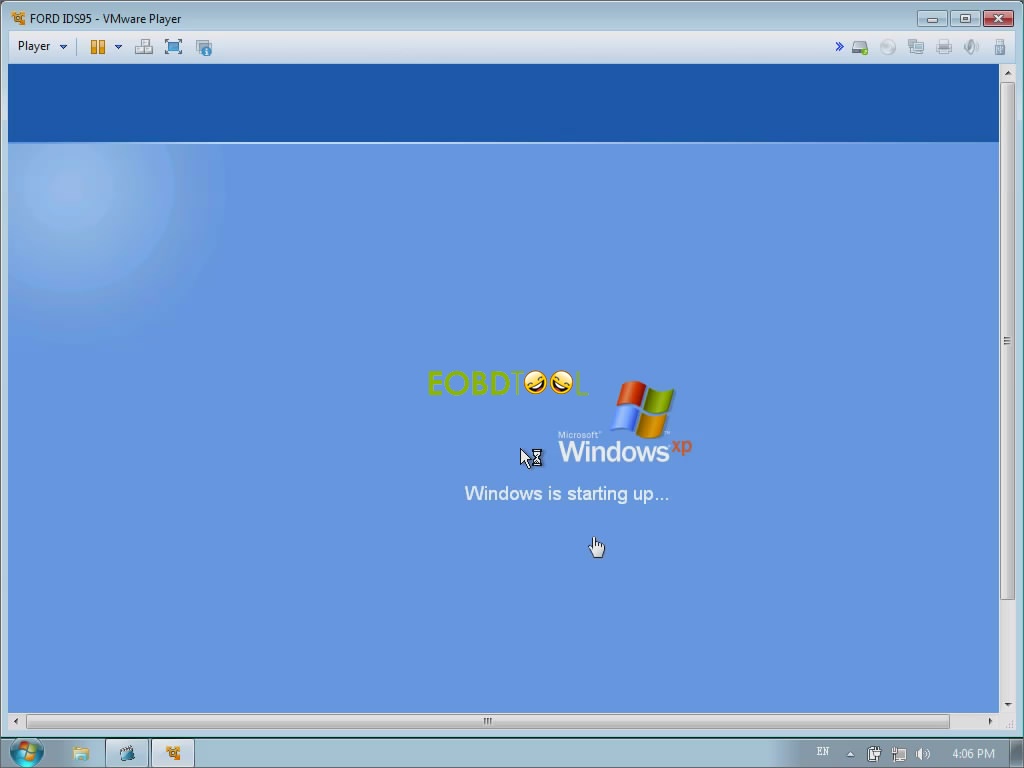
Step5. Click “Play virtual machine” to run VM;
Part2. VXDIAG VCX NANO IDS V100.03 Operation Guide
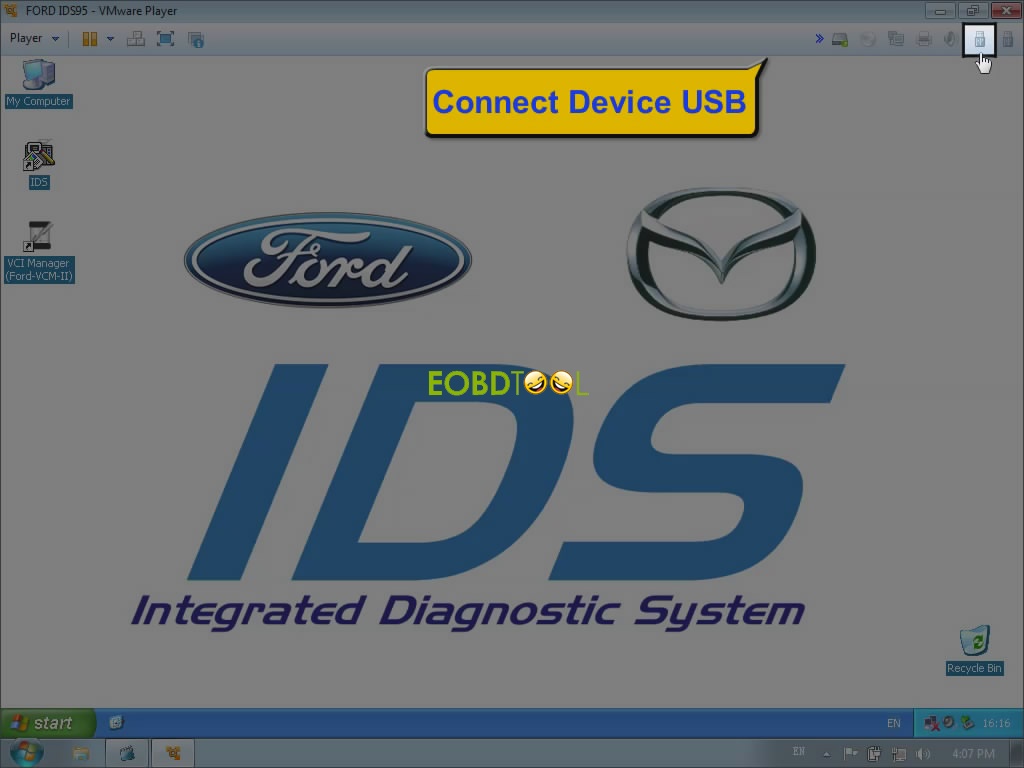
Step1. Connect device USB, choose “Connect (Disconnect from host)”, the USB icon will be light;
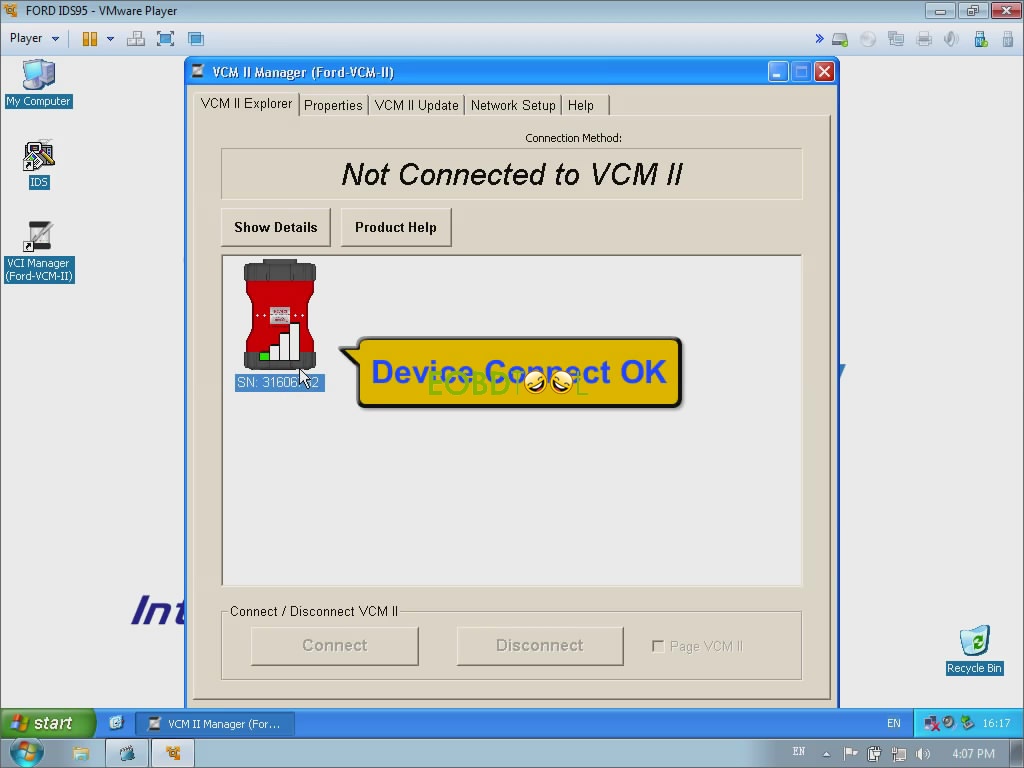
Step2. Open desktop icon “VCI Manager (Ford- VCM-II)”, click the main unit image and close the page;
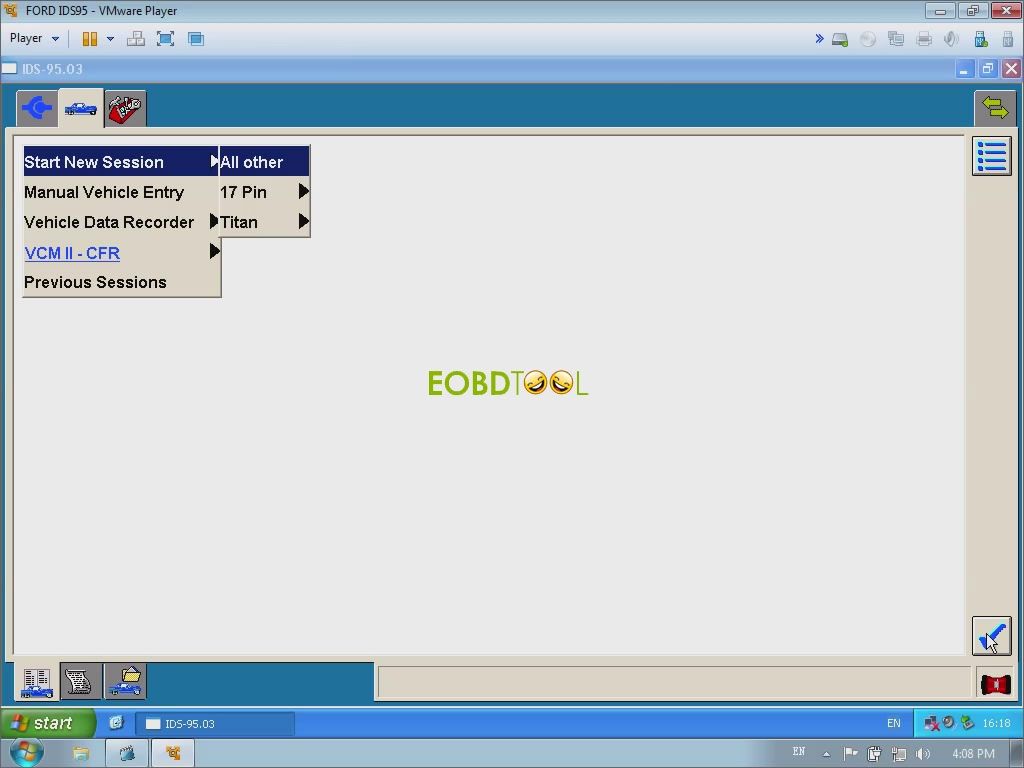
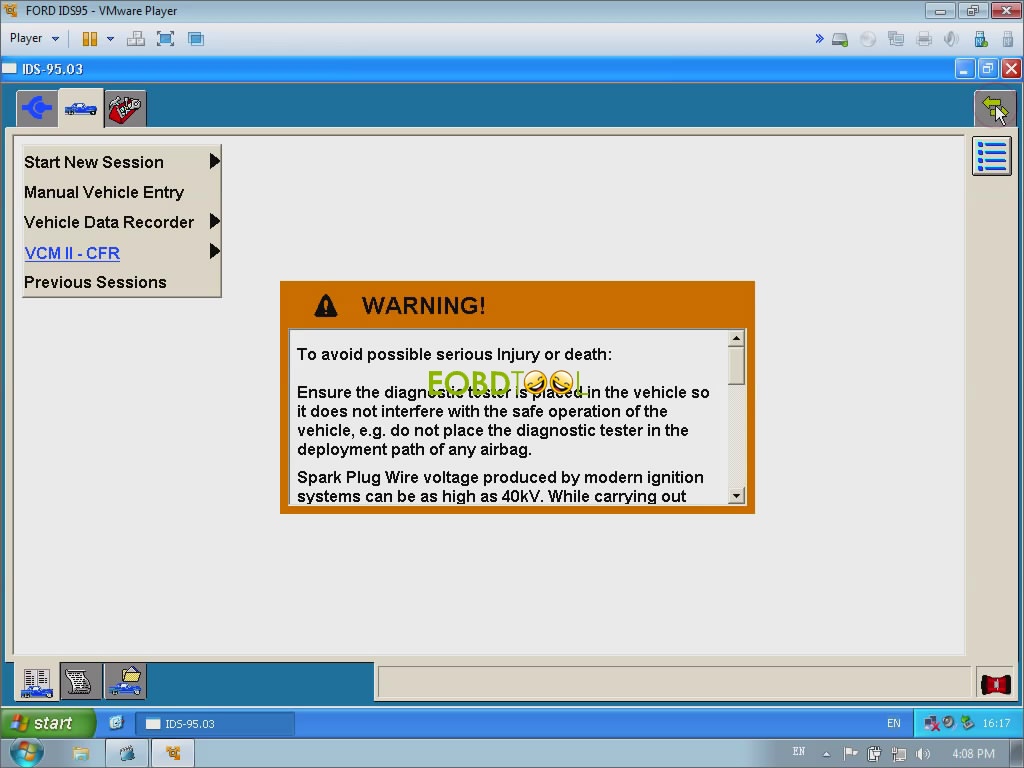
Step3. Open desktop icon “IDS”, you will get warning message but you can ignore it. Click car image button (at middle of left upper side), choose “Start New Session”→ “All other” → click “Tick”
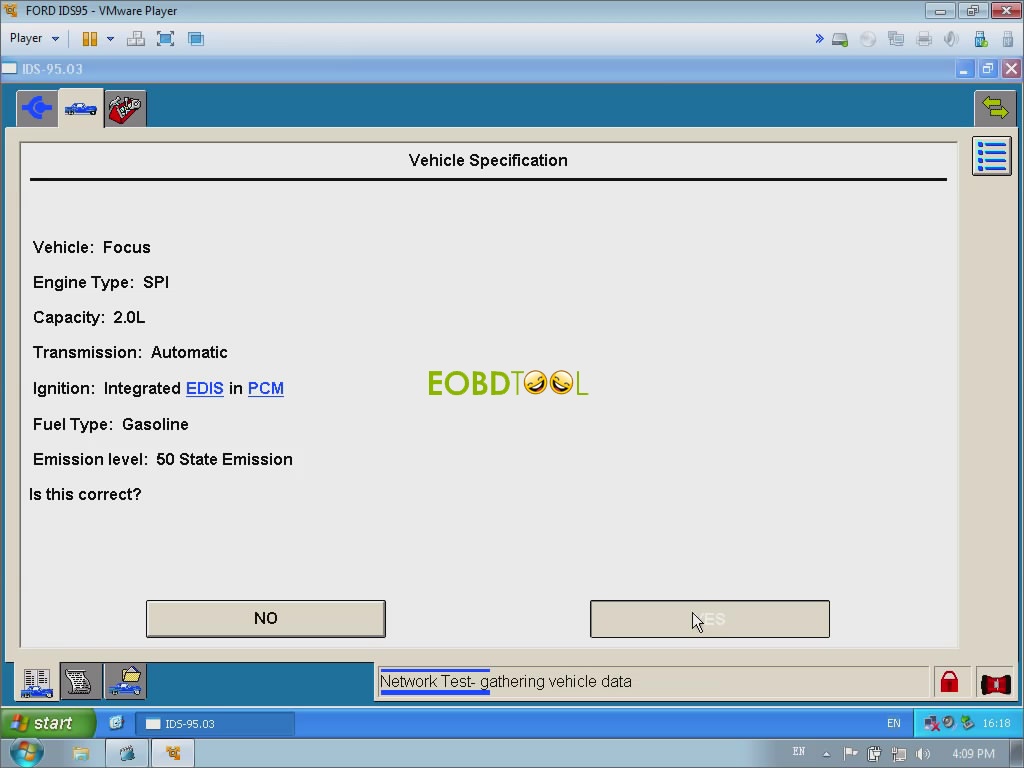
Step4. After that you will turn to interface “Vehicle Specification”, click “Yes”;
Step5.
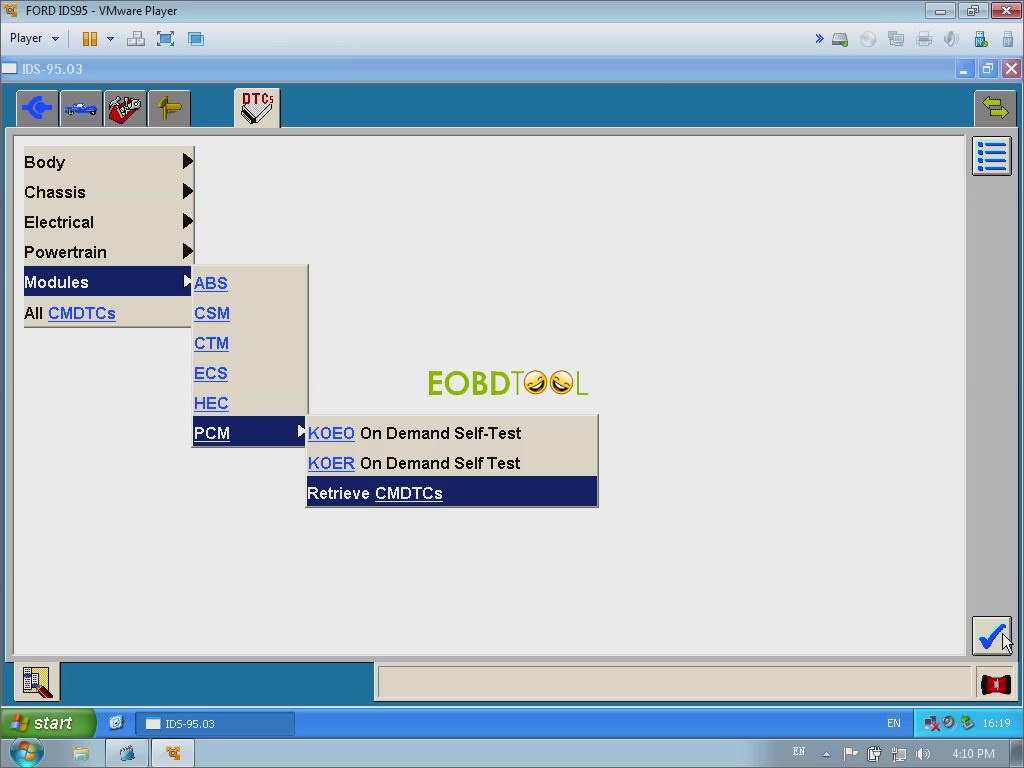
1.Click the third red button at left upper side → choose “Self Test” →click “Tick”.

2.Choose “Modules” → “PCM” → “Retrieve CMDTCs” → click “Tick”;
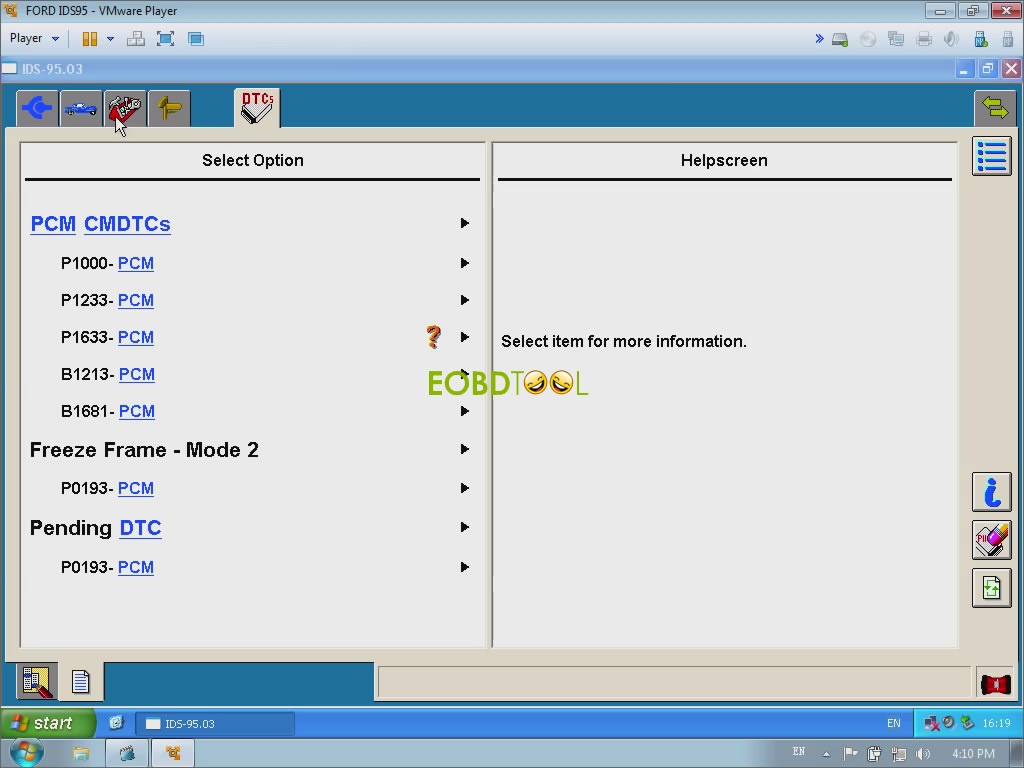
3.You can check PCM DTCs as following picture:
Step6.
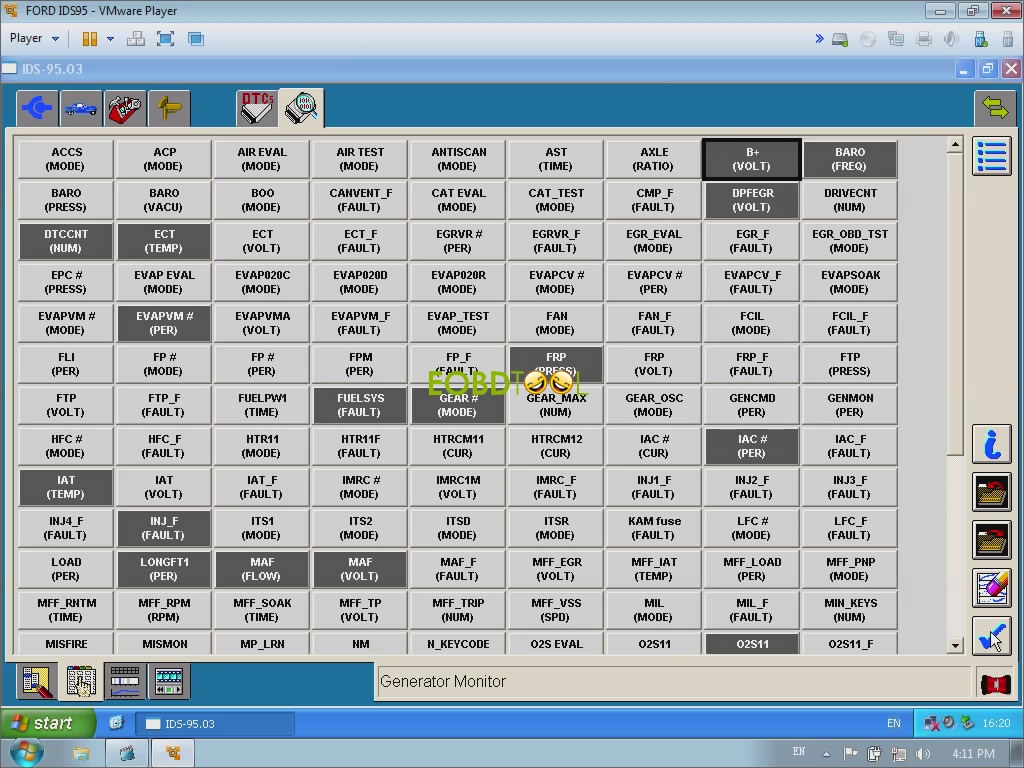
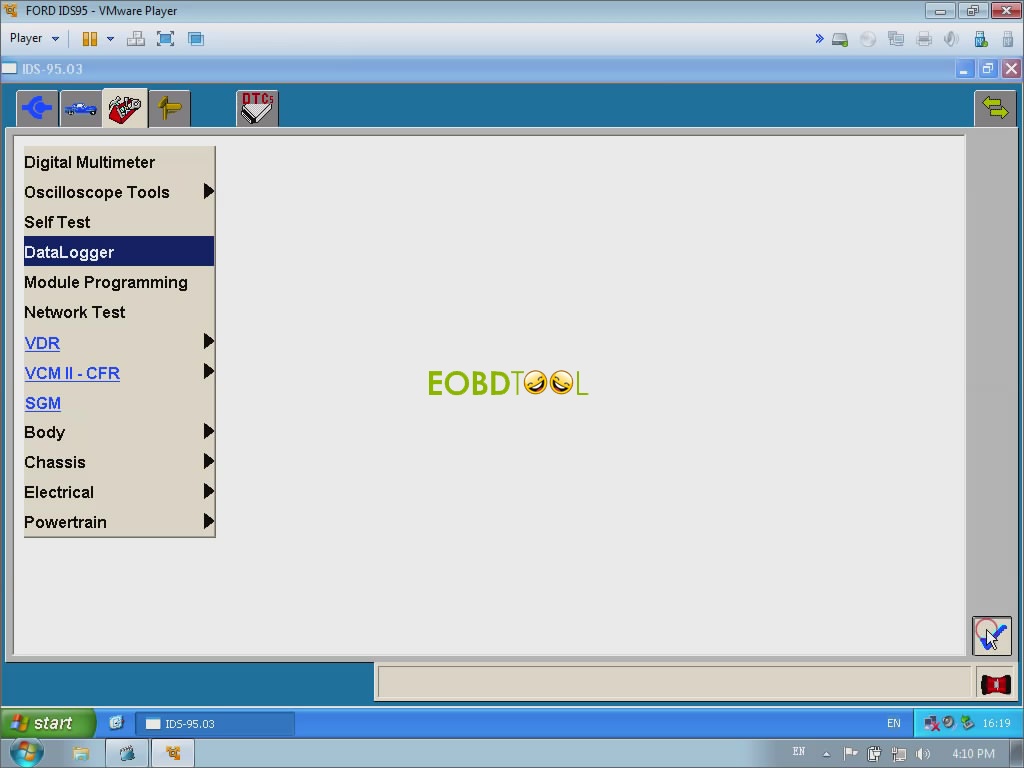
1.Click the third red button to go back operating menu, choose “Data logger”, click “Yes”,
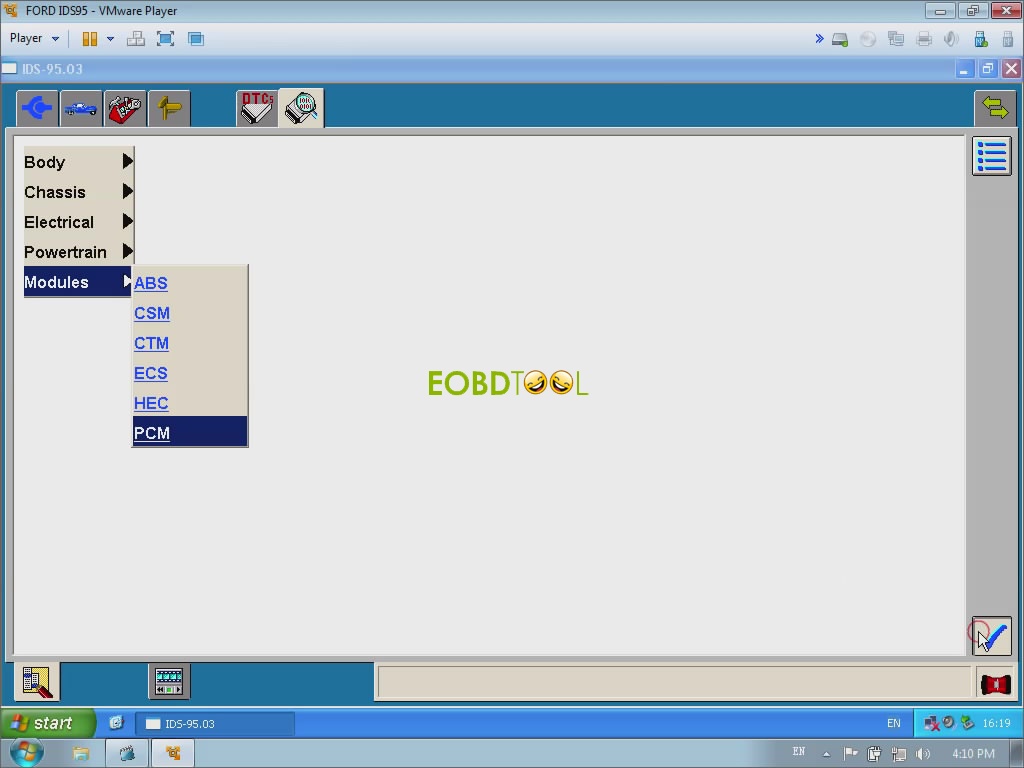
2.Choose “Modules” → “PCM” → click “Tick”;
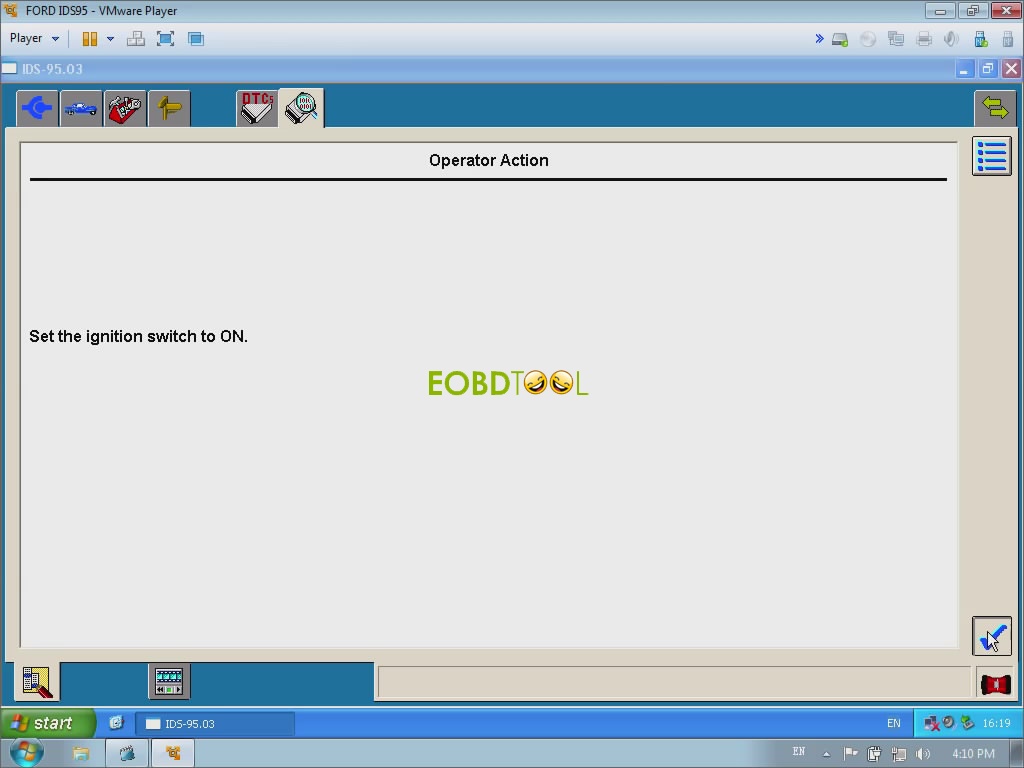
3.Set the ignition switch on, click “Tick”, it will show “Establishing communication with the ECU”
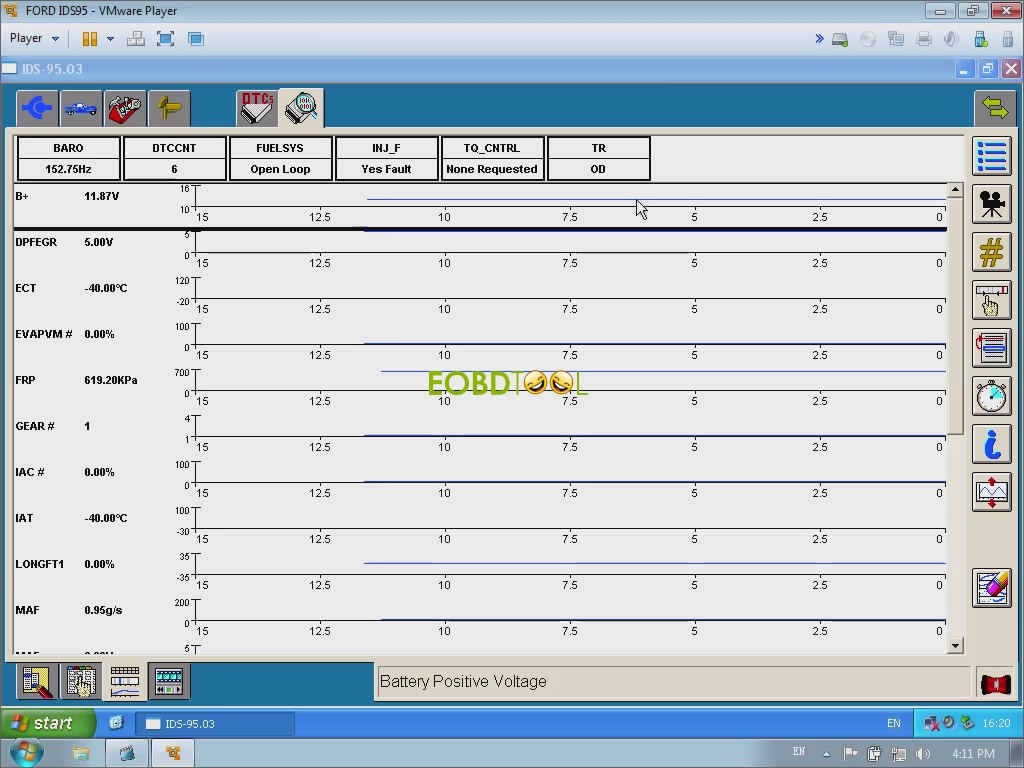
4.Now you can check data logger, e.g. to check voltage data logger you can click “B+(VOLT)” button as follow: