VNCI 6154A is the alternative solution of the original VAS 6154A VAG diagnostic tool. It’s compatible with the original ODIS V9.10 or above diagnostic software/ODIS Engineer V14.1 or above software, and works with the original driver, doesn’t need driver manager, no need for third-party software, plug and play. Check the guide to install ODIS software and update VNCI 6154A firmware.
VNCI 6154A Driver Download:
https://pan.baidu.com/s/1HpecZiWLdP7MmoERW3ZNTg
Password: 3333
ODIS V10.0 free download:
Link: https://share.weiyun.com/jd8R88Ql
Password: 6vi5ku
Operating system:
- Win10 64-bit Professional Edition
- 4GB memory
- At least 100GB of free space on the C drive
ODIS V10.0 installation for VNCI 6154A:
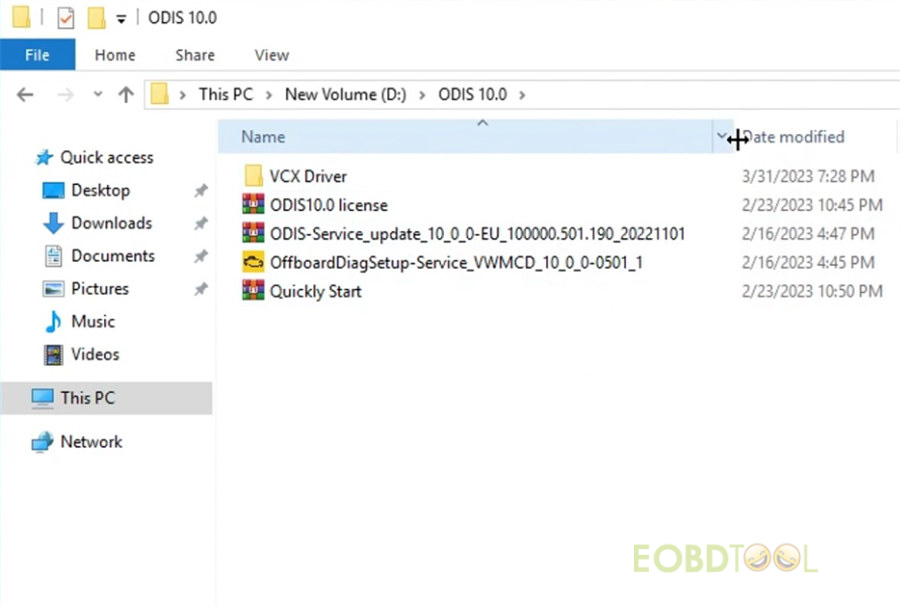
After downloading, there are 5 items in the ODIS 10.0 folder.
VCX Driver
ODIS10.0 license
ODIS-Service_update_10_0_0-ECU_100000.501.190_20221101
OffboardDiagSetup-Service_VWMCD_10_0_0-0501_1
Quickly Start
Step 1: Install OffboardDiagSetup-Service
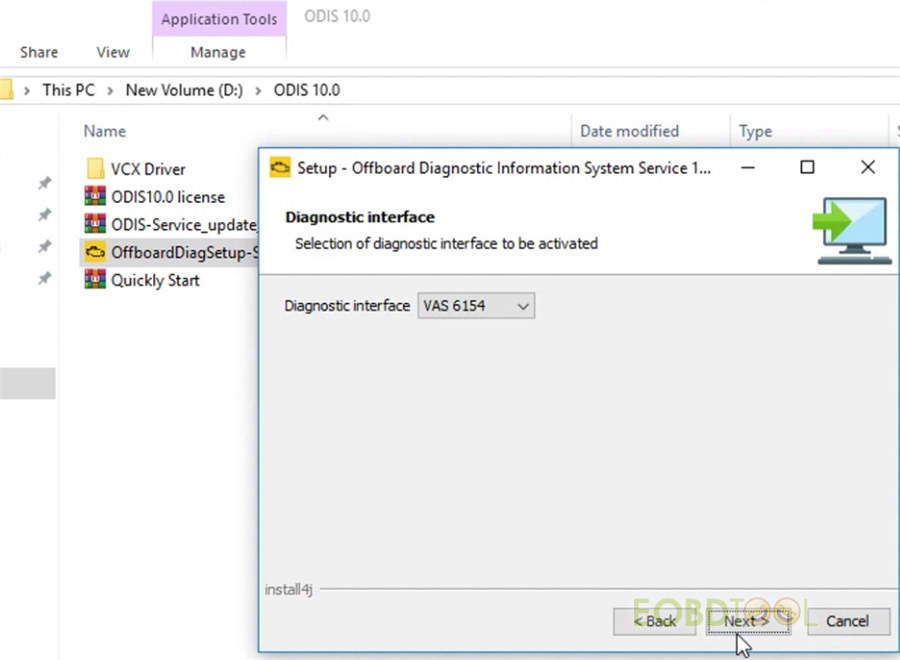
Run the application
Select language, target platform (standard PC/notebook), diagnostic interface (VAS 6154)
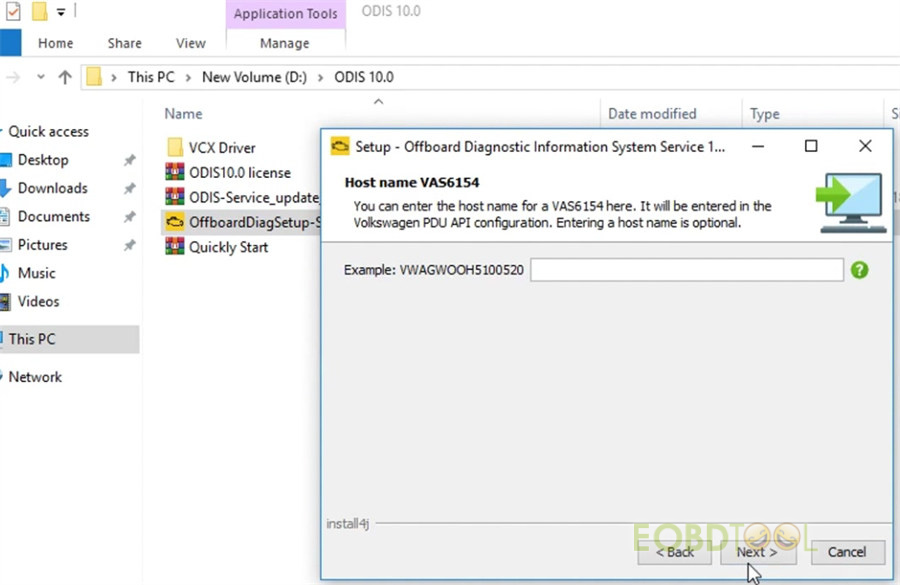
And enter the Host name for VAS6154
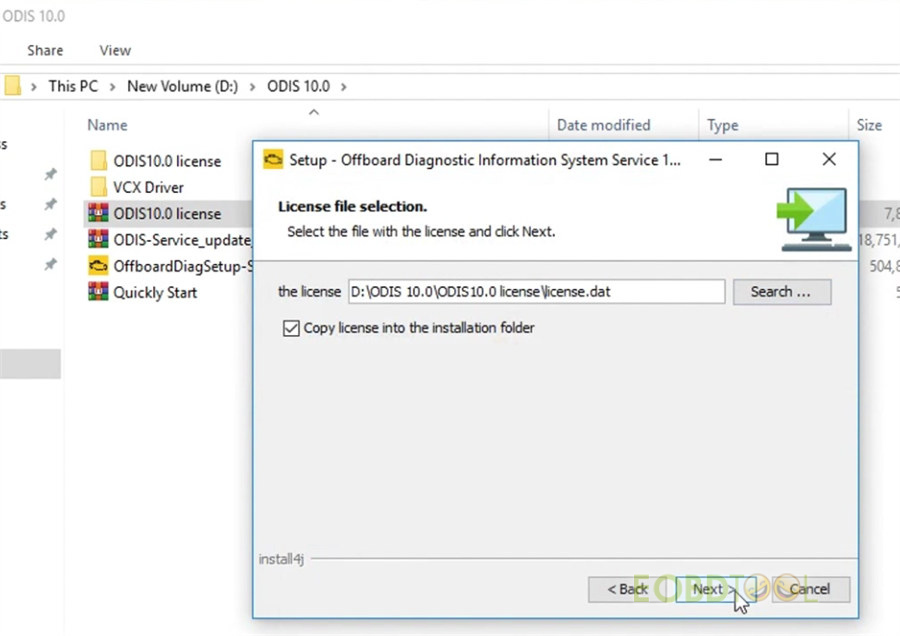
Extract ODIS 10.0 license
Then select license.dat file
Tick “Create a folder in the start menu” to start installing
Wait a moment till the installation process is completed.
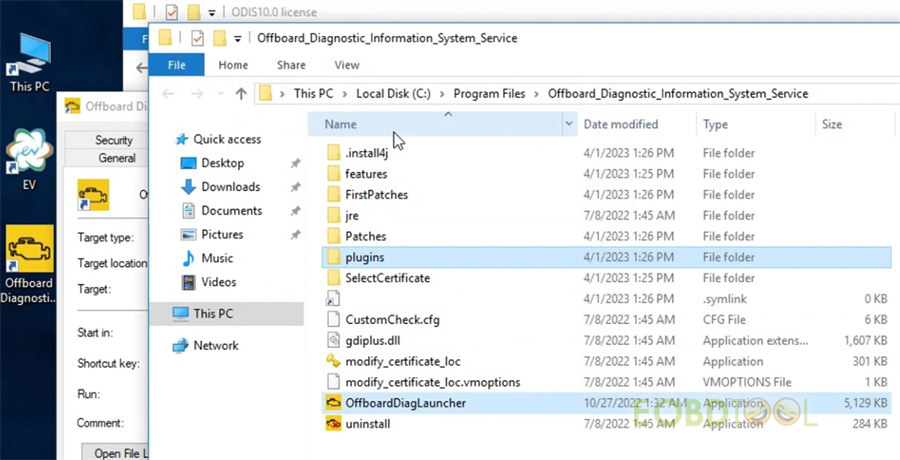
Step 2: Copy plugins and offboardDiagLauncher and paste them to Offboard_Diagnostic_Information_System_ Service
Step 3:
Extract ODIS-Service_update_10_0-0-ECU_100000.501.190_20221101
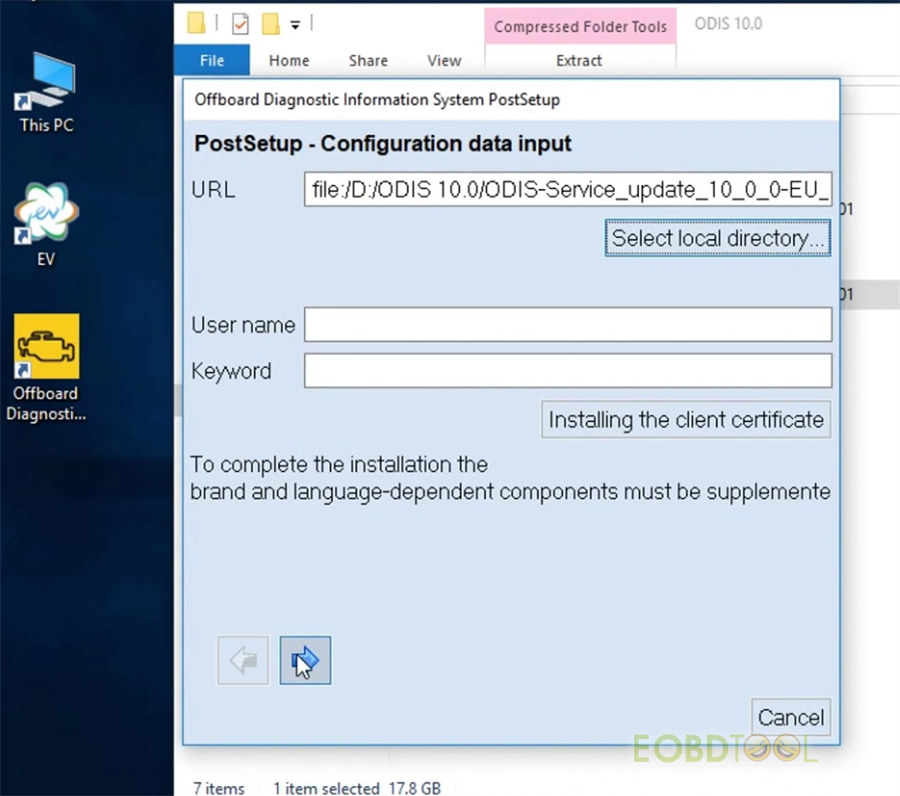
Step 4: Run Offboard Diagnostic Information System program
Select local directory- D disk/ODIS 10.0/ODIS-Service_update_10_0_0 ECU_100000.501.190_20221101
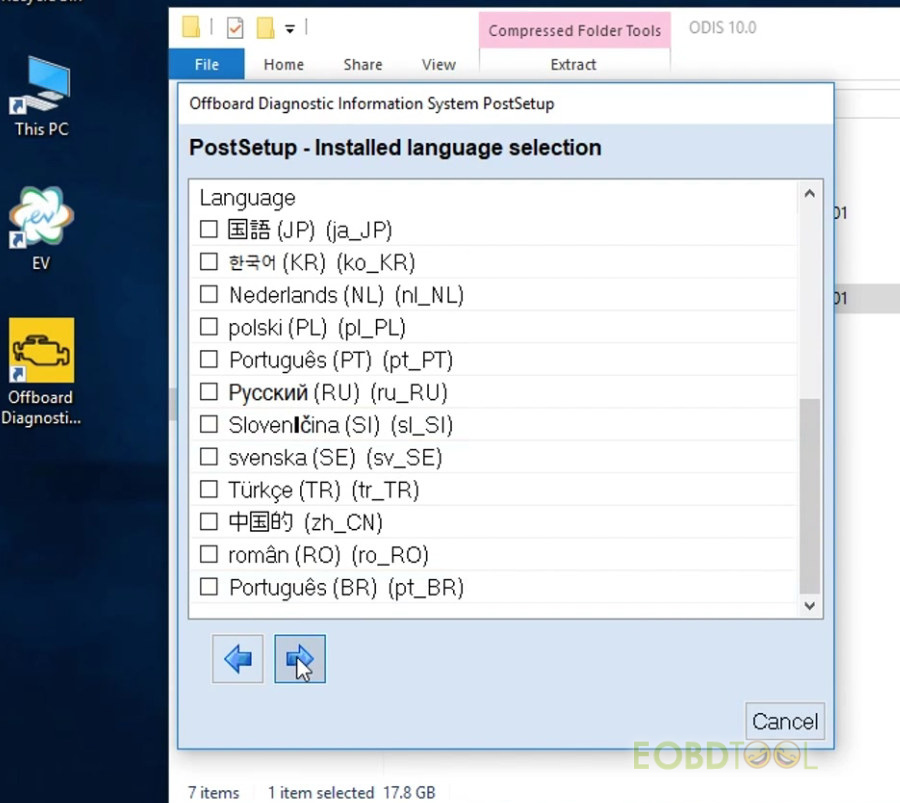
Select language
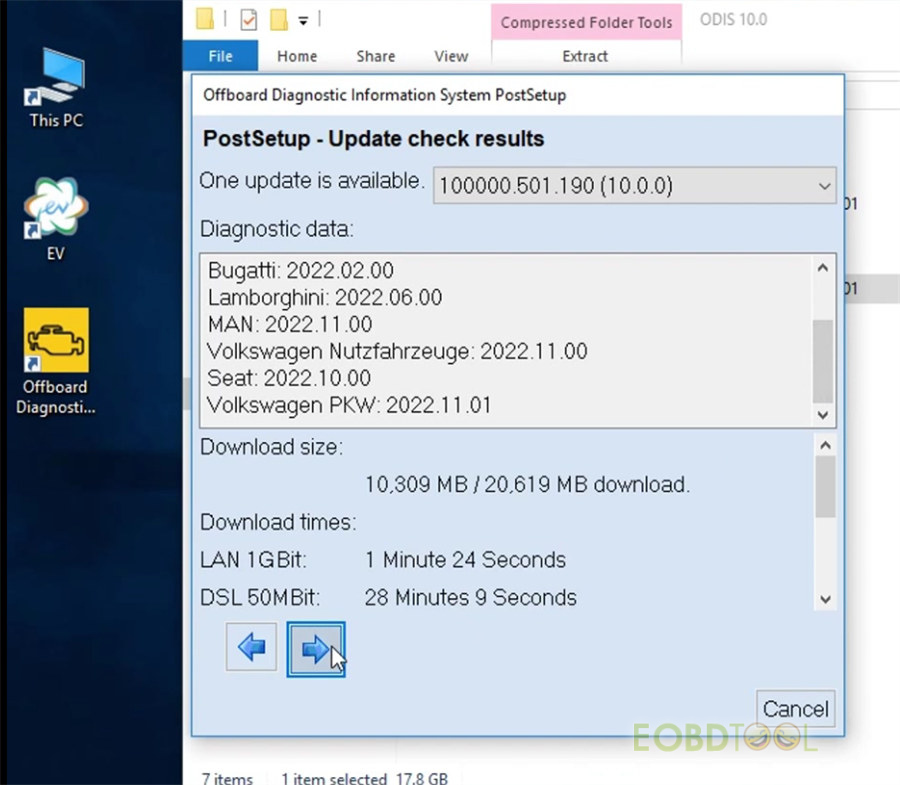
Then next download the files ODIS data and import the database
Step 5: Restart the computer now or later
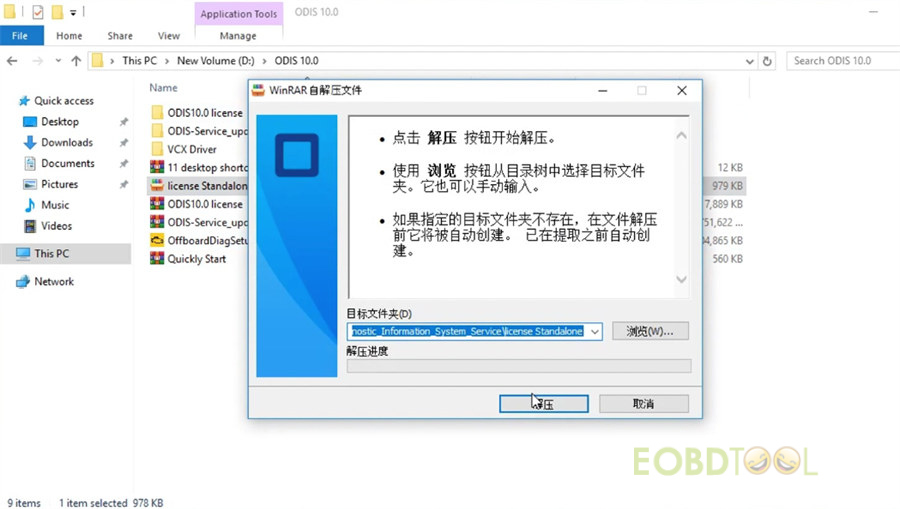
Step 6: Extract Quickly Start
Then open the license standalone
Click “解压” (uncompress)
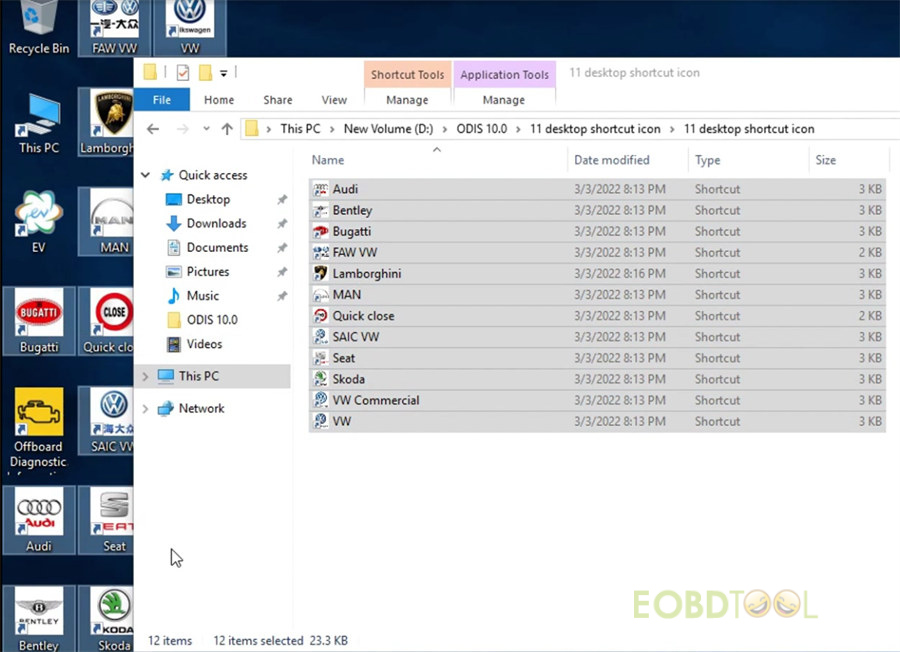
Extract 11 desktop shortcut icon
Copy the 11 desktop shortcut icon and paste it on desktop
Step 7: Install VNCI 6154A driver
Go to this PC>> New volume (D)>> ODIS 10.0>> VCX Driver
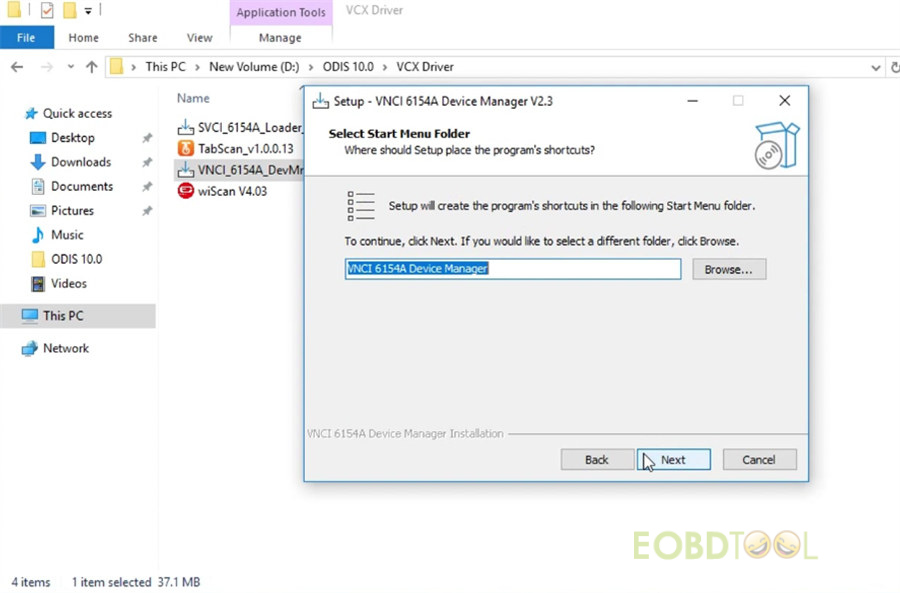
Open VNCI_6154A_DevMngr_Setup_x86_2v3 application to install
Select language, destination location, components, and start menu folder (VNCI 6154A Device Manager)
Select additional tasks
Then ready to install and wait until the installation process is done
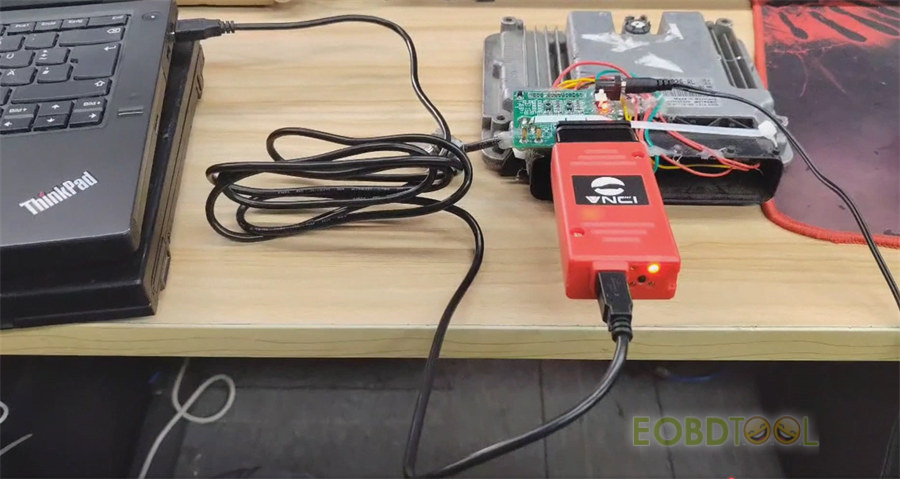
Step 8: After installation, connect VNCI 6154A VAG diagnostic tool to ECU and computer correctly
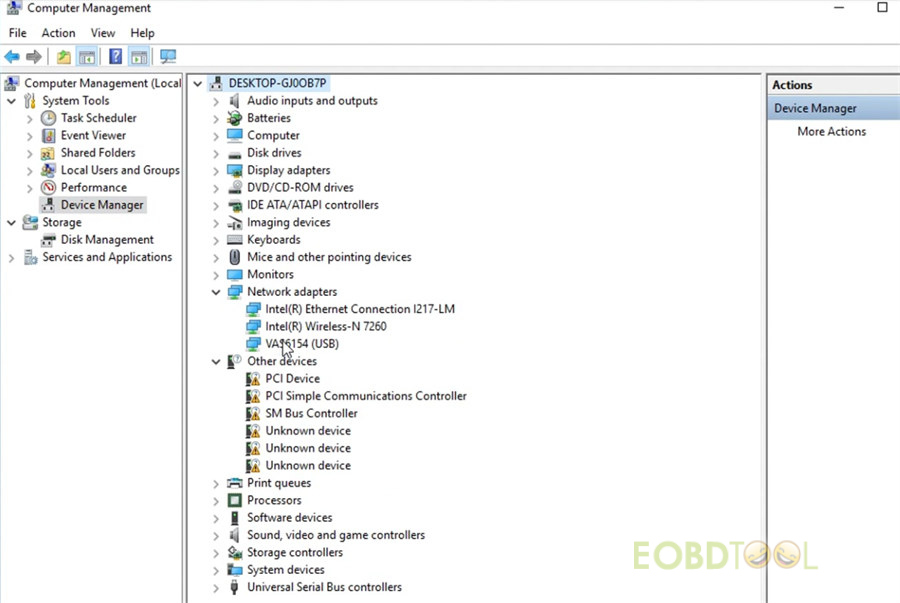
Go to computer management>> Device Manager>> Network adapters to check if the VAS6154 (USB) is there
If yes, that means the driver is installed successfully.
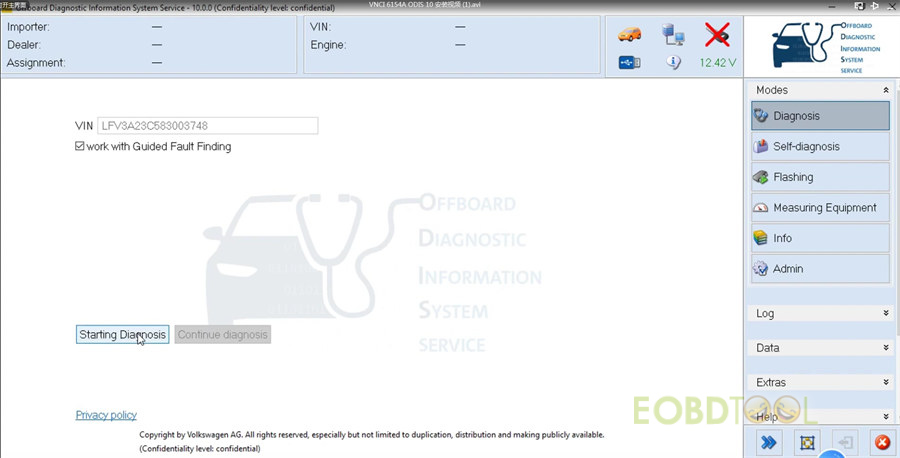
Then you can run offboard diagnostic information system service to diagnose cars.
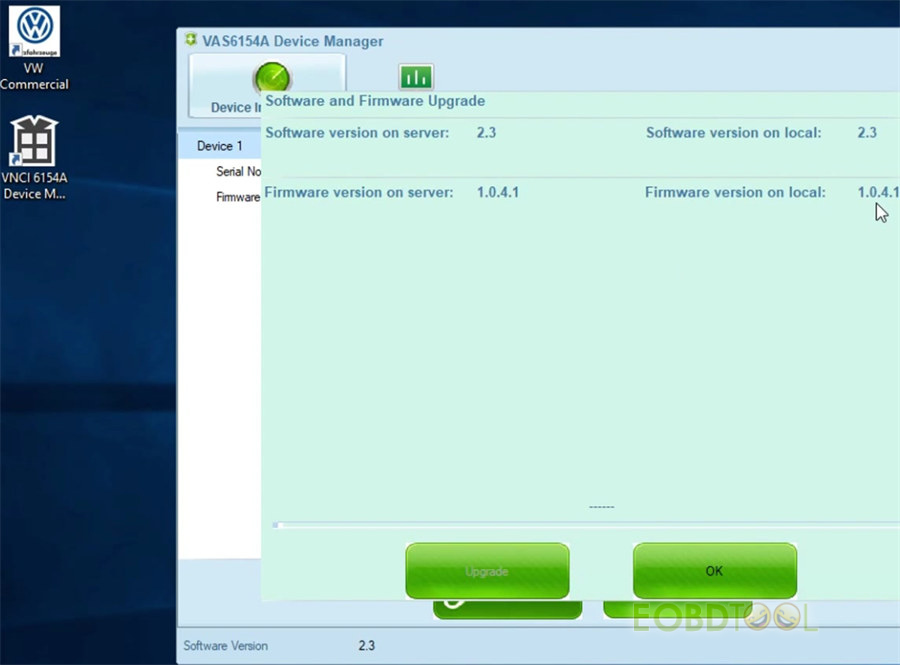
Guide to update VNCI 6154A firmware:
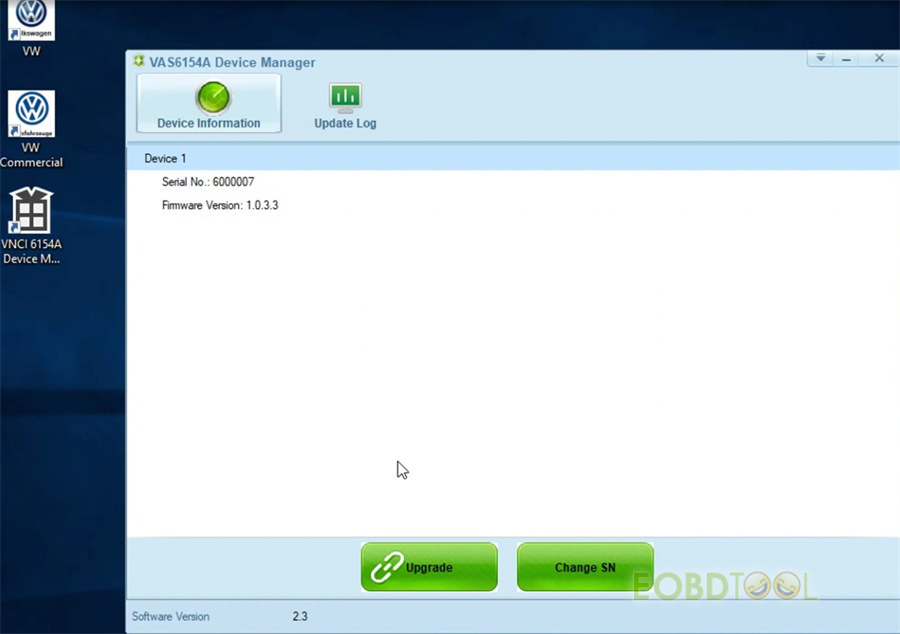
Run VNCI 6154A Device manager, you can go to update the firmware and change SN.
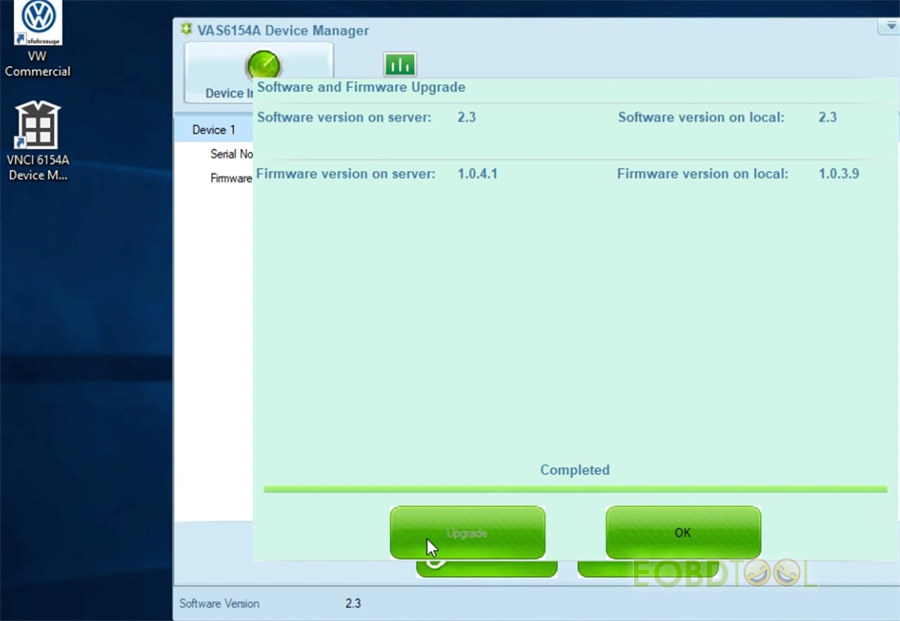
Click “Upgrade” to update the firmware to the newest version.
Video guide:
How to install VNCI 6154A ODIS 9.10 Software on Win10?
How to update VNCI 6154A firmware?
How to Connect and Configure VNCI 6154A ODIS 9.10 via WLAN?


