OBDSTAR has just launched NIO 16PIN Gateway Dedicated Wiring Harness (C1031) to make NIO EV key programming safer, faster, and completely hassle-free. It’s compatible with X300 Classic G3 (KeyMaster G3) and X300 PRO4 (Key Master 5). Let’s see how to connect the harness and device for key programming.
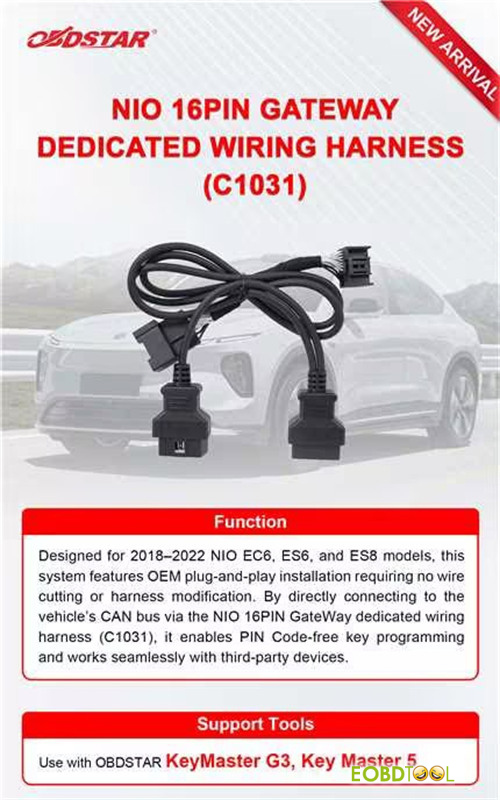
OBDSTAR C1031 NIO 16PIN Gateway Dedicated Wiring Harness Overview:
Programming key for high-end electric vehicles like NIO can be intimidating due to their complex gateway systems. OBDSTAR C1031 harness is specifically engineered to eliminate those obstacles.
Target Vehicle Coverage:
Compatible Models: 2018–2022 NIO EC6, ES6, and ES8.
Core Functions & Features:
- True Plug-and-Play Setup: Features an OEM-style plug-and-play installation. There is absolutely no wire cutting or harness modification required, keeping the vehicle’s original wiring completely safe.
- Direct CAN Bus Access: Connects directly to the vehicle’s CAN bus system via the dedicated gateway connector.
- PIN Code-Free Programming: Enables smooth, bypass-style key programming without requiring a PIN code.
- Universal Compatibility: Works seamlessly with your favorite OBDSTAR tablets as well as compatible third-party diagnostic and programming devices.
How to use OBDSTAR G3 and NIO 16PIN Gateway Harness?
1.Preparation:
- OBDSTAR X300 Classic G3 key programmer
- Main cable
- OBDSTAR C1031 NIO Gateway Harness
- A blank key

2.Step-by-step guide:
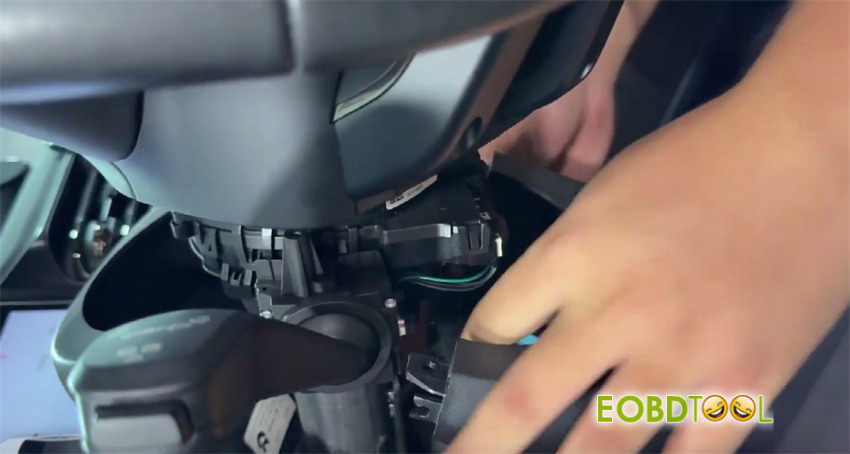
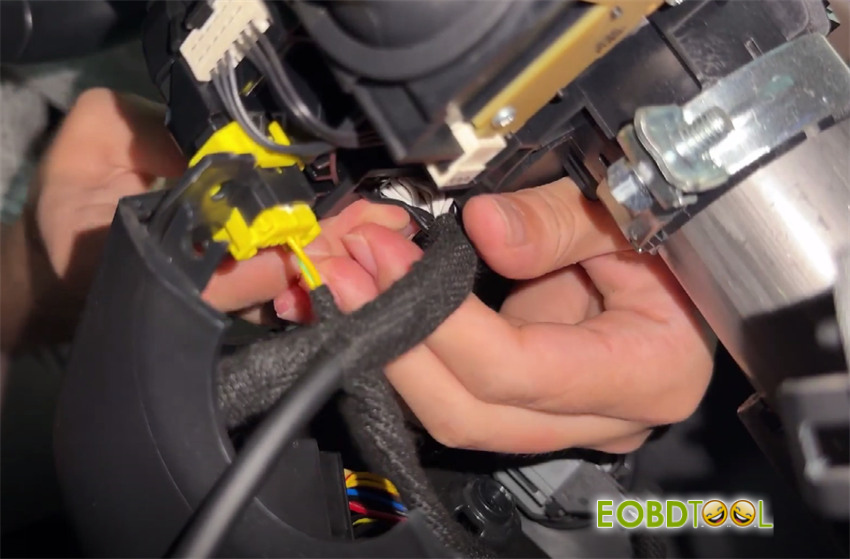
Remove the steering column cover
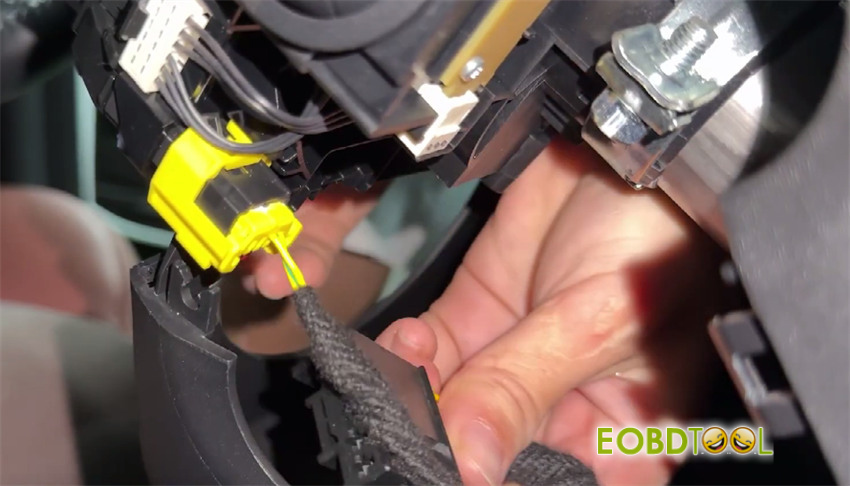
Then disconnect the connector below the steering column
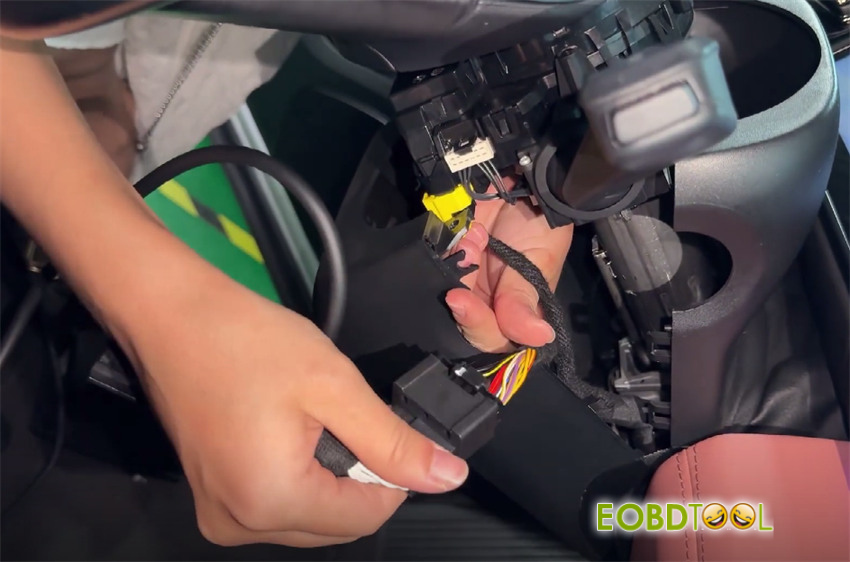
Use the dedicated harness to connect the disconnected connector
Reconnect the other end of the dedicated harness to the steering column connector
Locate the vehicle’s diagnostic port
Connect the dedicated harness to the vehicle’s diagnostic port
Connect the dedicated harness to the KEYMASTER G3 main cable

Wiring completed
Select IMMO
Search for NIO in the upper-right corner
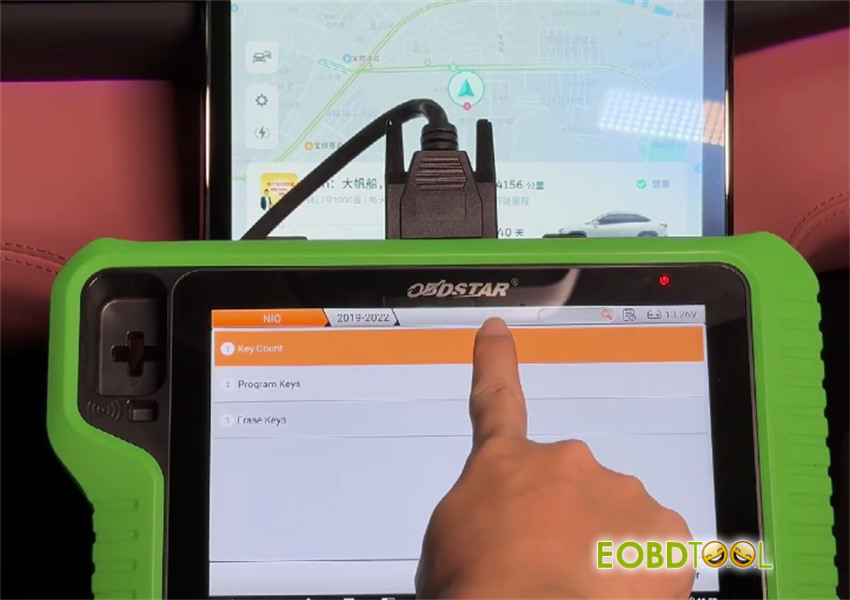
Select NIO-> software version-> Manual detect model-> EC6 -> Proximity->2019-2022-> Key count
The key count is 0
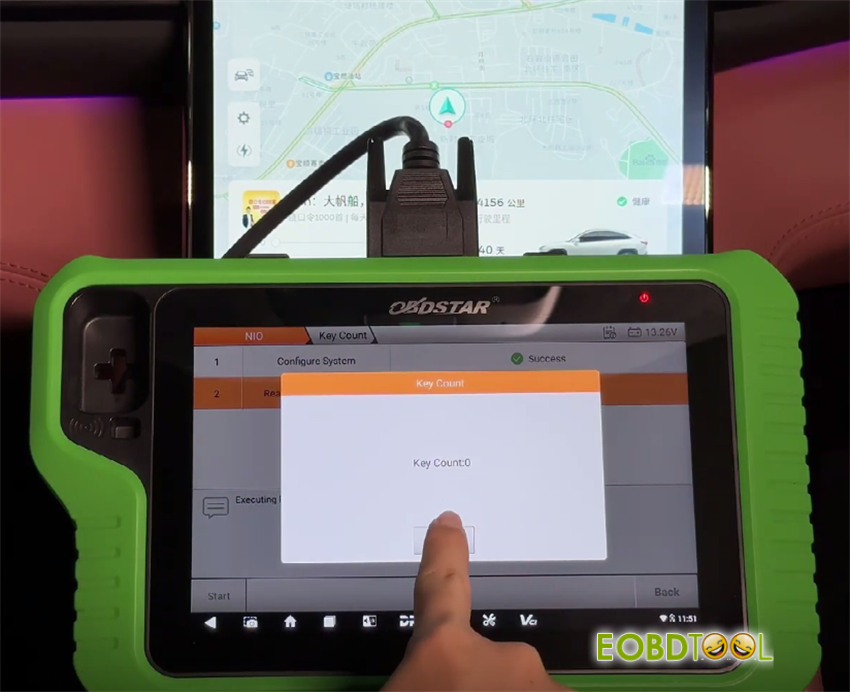
Verify confirms that the key cannot start the vehicle
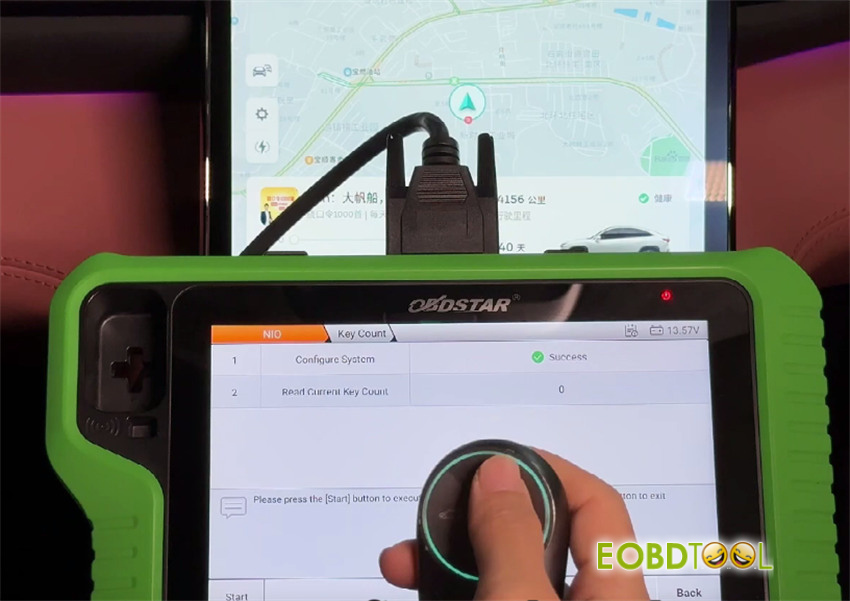
Return and tap Program keys
Read the system prompt
Follow the prompt to ensure the vehicle is in Park (P)
Then disable wireless charging
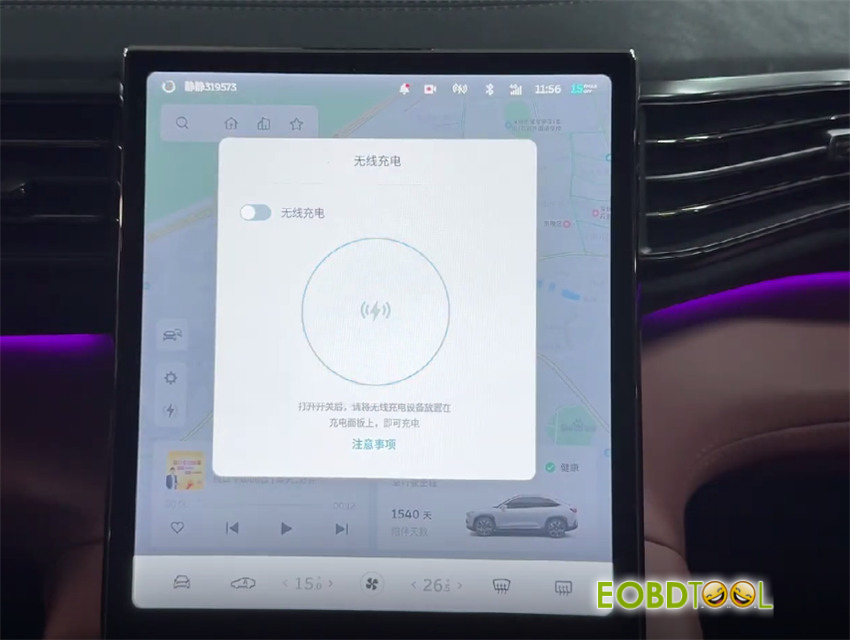
Place the smart key to be programmed into the vehicle’s key sensing area (center console armrest box), then click OK

Key programming successful
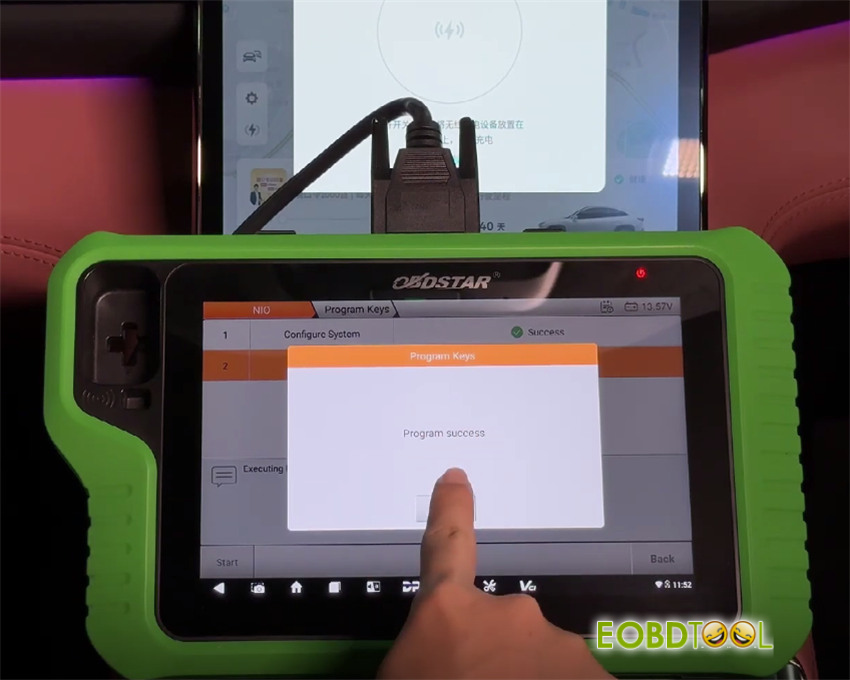
Now the current number of keys is 1
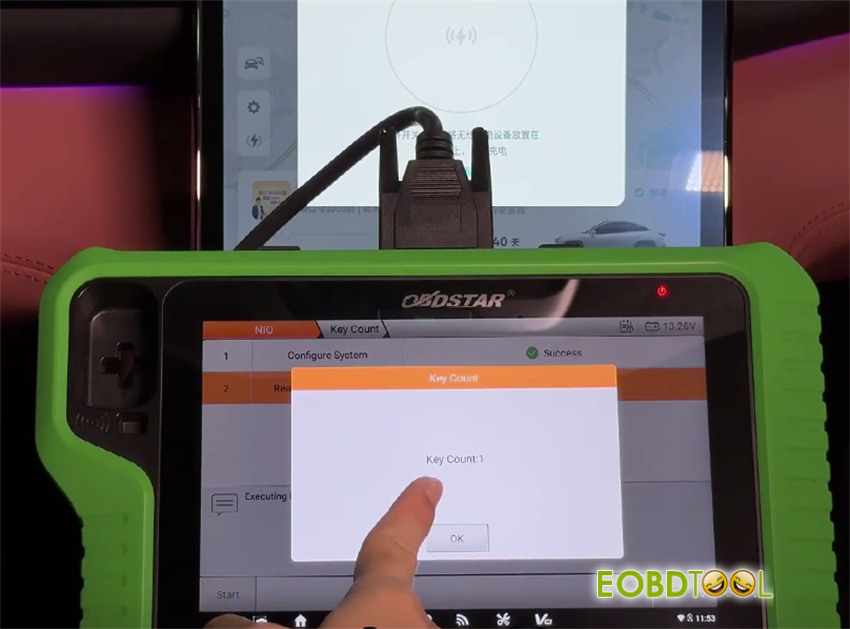
Verify the key outside the vehicle
The key is programmed successfully
Done!