This guide explains how to connect ELM327 WIFI to Windows (applies to any Windows version).
In order for ELM327 WIFI to work, you'll need to change some settings of your wireless connection network.
And by doing this, you will no longer have access to your internet connection over WIFI. So the old settings will need to be restored when you have finished using your ELM327 WIFI. There's no way around this. Just the way it is with some WIFI devices.
Step 1. Connect ELM327 WIFI to your car. Ignition should be on, so it gives power to ELM327 WIFI device.
Step 2: Go to your connection manager and connect to “WiFiOBD” or “OBDDevice” (whichever shows).
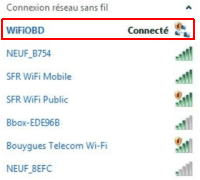
Then, right click on it, a menu will appear, select “Status”. The following window will appear:
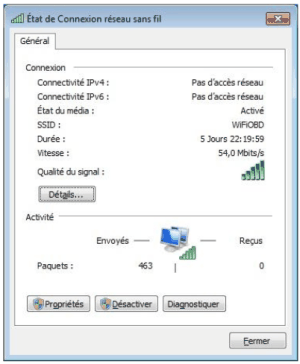
Step 3:Click on “Properties”.
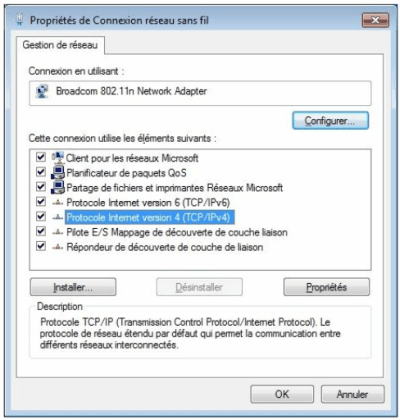
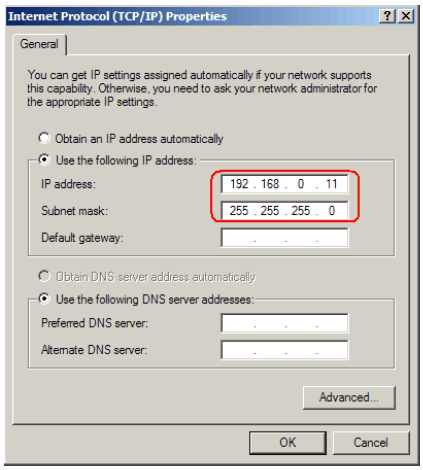
Change the connection's TCP/IP setting by entering a static IP address.
Set the IP as:
192.168.0.11
And the subnet mask as:
255.255.255.0
The new settings are complete. Close all windows and return to your OBD software.
Inside your OBD software, set connection as WIFI interface, and put these settings:
Set the IP as:
192.168.0.10
And set Port Number as:
35000
Note: Depending on the WiFi interface manufacturer/merchant, the IP settings will not necessarily be the same as above. If this is the case,check the technical manual to find the right IP address to enter inside your OBD Software.