JDIAG P200 Smart Hook Powerful Probe, the new generation of intelligent circuit analyzer, is the only circuit tester that can be upgraded on the market. It’s better and powerful than Autel PowerScan PS100. Check the differences between them and the guide to use it easily.
Jdiag P200 vs. Autel PS100:
| Item | Jdiag P200 | Autel PS100 |
| IMG |  |
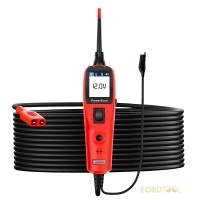 |
| Operation Voltage | 9-30V | 12/24V |
| Testing Voltage | 0-150V | 0-70V |
| LCD Screen Display | 2.4 inch Color LCD | 1.7 inch Color LCD |
| 9-Grid Navigation Menu | √ | × |
| Circuit Protection | √ | √ |
| Fuse Protection | √ | × |
| Alligator Battery Clip | Special Design | Normal |
| DC Voltmeter | √ | √ |
| AC Measurement | √ | √ |
| Smart Ohms/Volts | √ | × |
| Hertz/Frequency | √ | √ |
| 5-Button Navigation | √ | × |
| Relay Test | √ | × |
| Diode Test | √ | √ |
| Relay Test Diagram | √ | × |
| Fuel Injector Test | √ | × |
| Oscilloscope Mode | √ | × |
| Positive/Negative Display | √ | × |
| Safety Power Supply | √ | × |
| Component Activation | √ | √ |
| Activation Model Selectable | √ | × |
| Full Multimeter Mode | √ | × |
| Multi-language | √ (English, Spanish, Dutch, French, Italian, Portuguese, Polish, Russian, Vietnamese, Chinese) | × |
| Home Screen Change Style | √ | × |
| Update Online | √ | × |
From the comparison table, we can see Jdiag P200 wins Autel PS100. It comes with a bigger Color LCD, has the smart 9-Grid Navigation Menu, and supports more functions. Besides that, it’s also available in multi-language and supports updates online while PS100 doesn’t.
Next, let’s learn more details about JDIAG P200 Smart Hook Intelligent Electrical System Circuit Tester.
Here is the JDIAG P200 unboxing video.
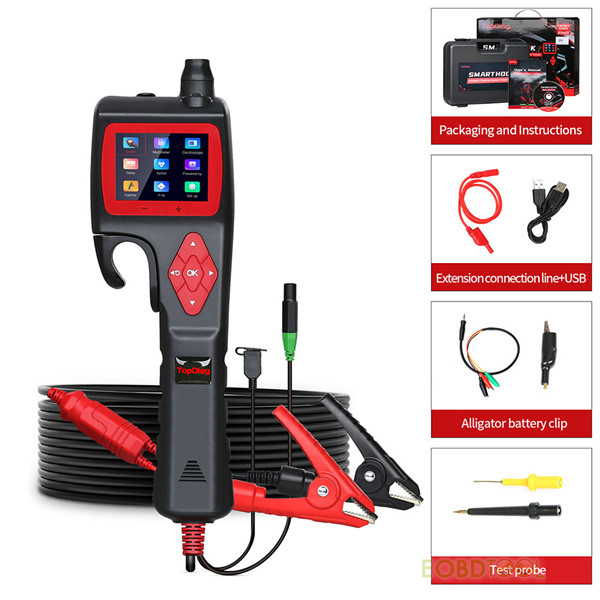
The package including:
1) Main unit
2) Solid copper test probe
3) Double pass test connection line
4) Alligator clip battery cable (Special Design)
5) Relay test line
6) Probe adapter
7) 25Amp fuse
8) Operation manual
9) Packing Toolbox
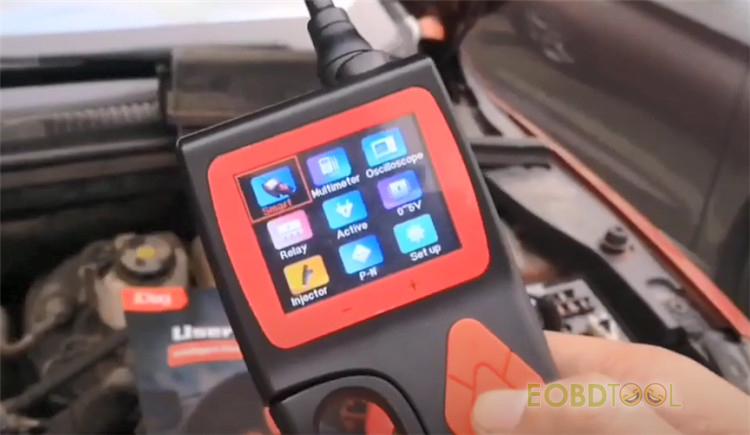
In the main menu, you see the test modes and setup as below:
- Smart
- Multimeter
- Oscilloscope
- Relay
- Active
- 0-5V
- Injector
- P-N
- Set up
Check each test mode and setting guide.
- Smart test mode: confirmed
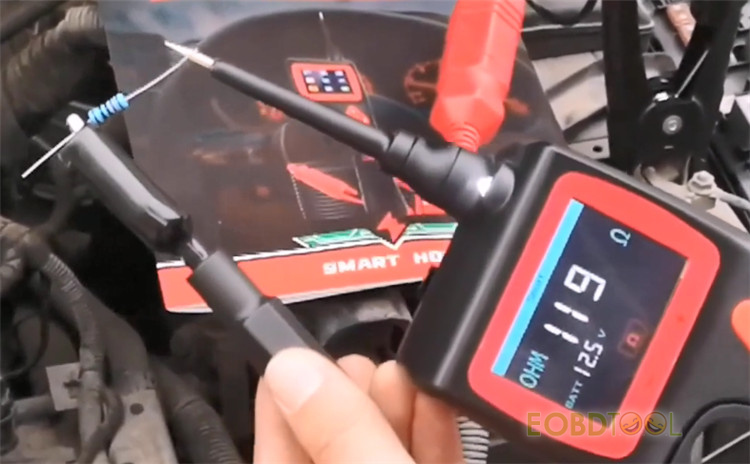
Smart test mode is designed to detect resistance values or voltage values automatically.
When you test the probe tip to an electrical system, it will display voltage values.
If it detected a voltage signal and when you test the resistance, it will display as ohms. So you don’t need to switch between voltage test and resistance test.
- Multimeter test mode: confirmed
The function is completely the same as you’re using a multimeter. You can perform voltage tests, resistance tests, diode continuity tests, current tests and frequency tests.
How to use:
Press the “right” button to select the test mode.
Press the “Left” button to exit.
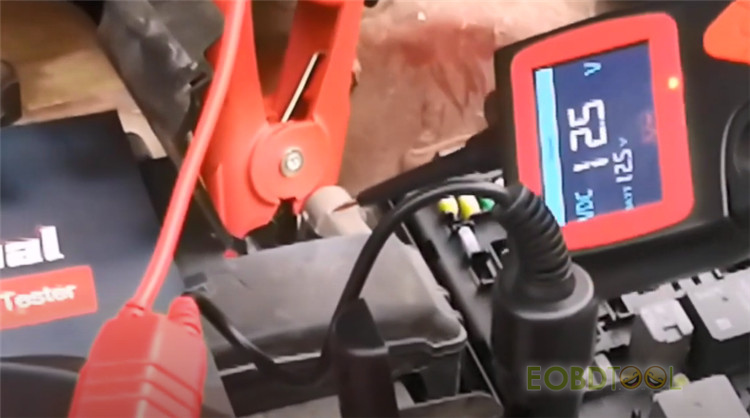
1)DC Voltage (VDC): Connect the probe clip (auxiliary ground lead) to the negative pole, and connect the probe tip to the measured voltage.
2)Resistance (OHM): Connect the probe clip (auxiliary ground lead) to one side of the Resistance being measured and the probe tip to the other side.
3)Diode/Continuity Test (DIO): Connect the probe clip (auxiliary ground lead) to one side of the Diode being measured and the probe tip to the other side. Meanwhile, it will display the voltage and show the positive and negative of Diode.
4)Current (AMP): The probe is connected in series in the circuit under test, it will display the current value.
5)Frequency (HZ): Display the frequency of the measured signal and duty cycle value.
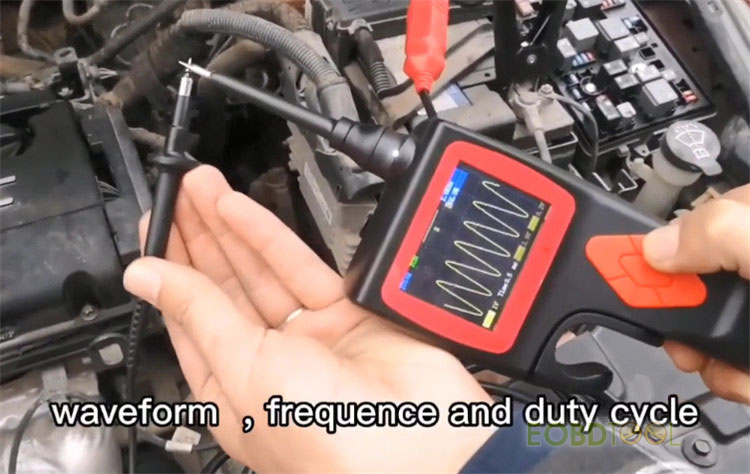
- Oscilloscope test mode: confirmed
Oscilloscope Test is quite useful to diagnose sensors, actuators, and communication signals.
With this simple oscilloscope test function, you can diagnose maximum-minimum voltage, waveform frequency, and duty cycle.
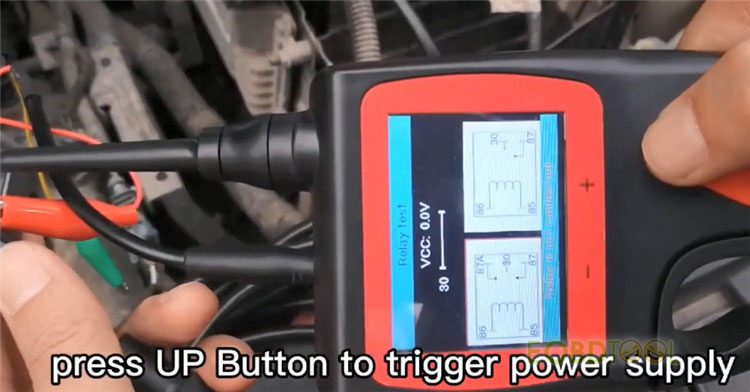
- Relay test mode: confirmed
There are two common relay types: 5 terminals and 4 terminals.
Put the relay test cable into the probe and check the connection diagram.
Clip-on the cables to each terminal on the relay.
And press the UP button to trigger the power supply to test relay working status.
- Activation test mode: confirmed
The activation test function is designed to generate activation signals to the tested components such as car lights, motors, and other onboard electric equipment.
Here is activating a car light.
There are three activate modes: moment, latch, and pulse, you can also set the overload current values.

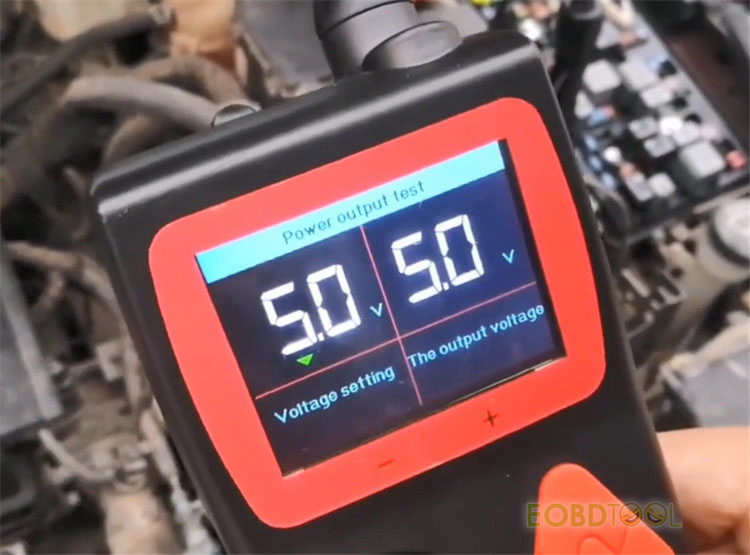
- 0-5V Safety power supply mode: confirmed
The safety power supply is different from the activation test.
In this mode, you can adjust output voltage under 5 volts and output current to 100 milliamps, this is a safe way to protect the sensitive sensors.
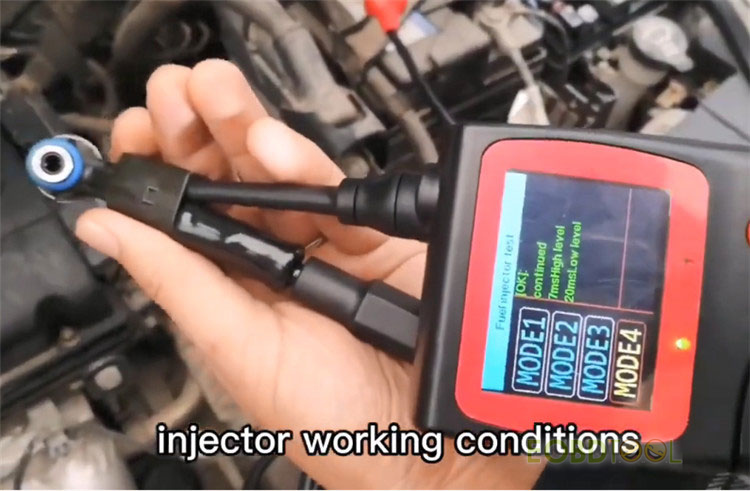
- Fuel Inject test mode: confirmed
There are four test modes in this function, the probe outputs different pulse signals to the injector and checks the spraying status.
It can be worked with any fuel pressure tester, this is a good way to diagnose injector working conditions.
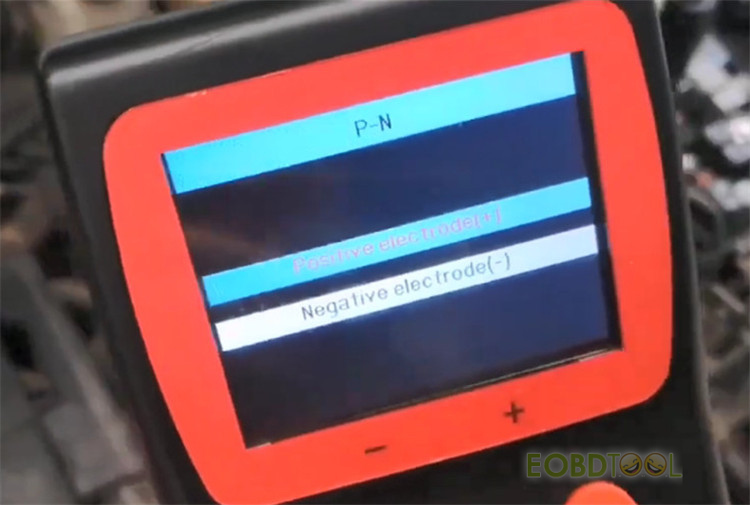
- Positive/negative test mode: confirmed
This function is designed to quickly find the circuit polarity in the electrical system. It will display voltage values, ground icons after detected related signals.
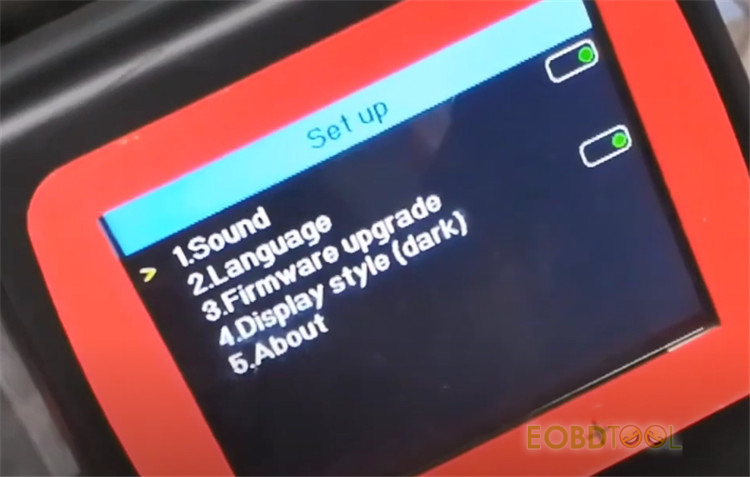
Finally, check the setup menu.
From the setting interface, you can perform sound, language, and firmware upgrades. There are more than 20 languages selectable in Jdiag P200 Smart Hook Circuit Tester, and you can also do online updates for free.

How to update your P200 hook?
1.Connect your hook to a computer with a USB cable.
2.Run the upgrade tool.
3.Upgrade your tool.
Here is the link for the upgrade tool
Jdiag p200 upgrade tool
Get JDIAG P200 Smart Hook Powerful Probe at the best price (less than 200 Euros):
https://www.eobdtool.co.uk/wholesale/jdiag-p200-smart-hook.html