This article is available with the update guide for VIDENT iLink400, iLink440, iLink450 and iAuto700, including how to update and the update cost after the free period.
Part 1: How to update VIDENT software
Step 1: Install the Update Client
Step 2: Create your VIDENT account
Step 3: Register your product
Step 4: Update the software
In detail…
Step 1: Install the Update Client
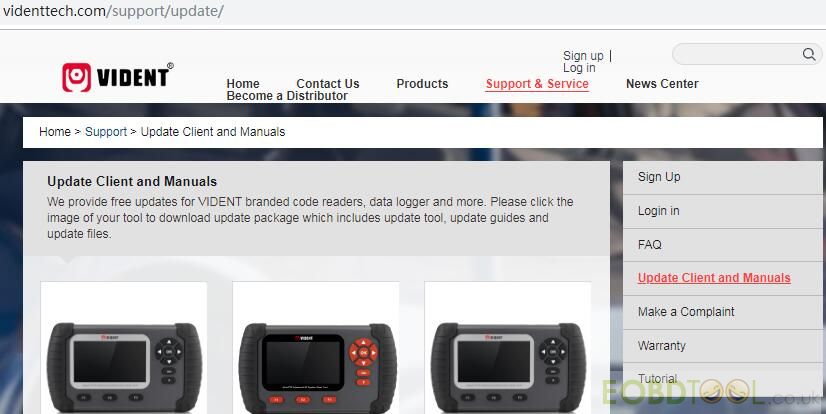
1.Visit VIDENT official website: www.videnttech.com to download the update client from http://www.videnttech.com/support/
2.The file downloaded will be a compressed zip file. Open the file and run the installer inside it.
In addition, you also can install the update client from the CD that comes in the product package.
Step 2: Create your VIDENT account
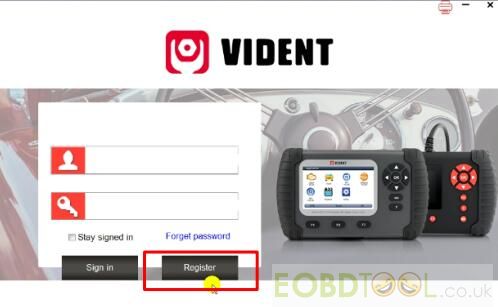
After install the update client successfully, please create an account
Run the iScanzilla software, click “Register” button
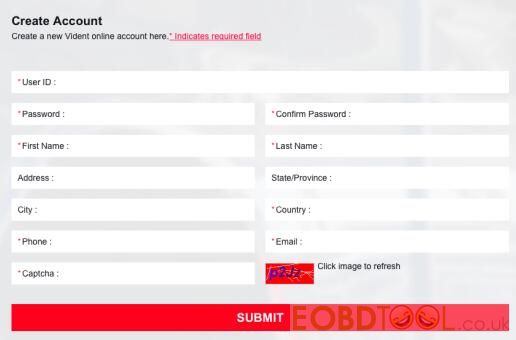
Fill out the information required and submit
Besides that, you can click the “Sign up” button on the right upper side of the official website to create a user account

Step 3: Register your product
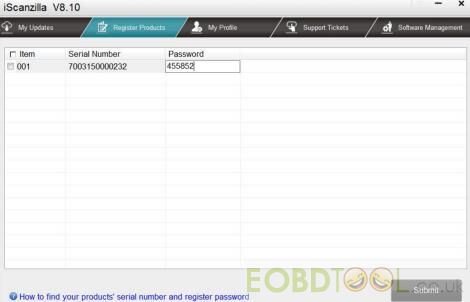
Login iScanzilla, and click the “Register Products” icon
Tick off the item “001” and input the serial number&password of your VIDENT scan tool
Then click “Submit”
Note:
Please connect the scan tool with computer via USB cable
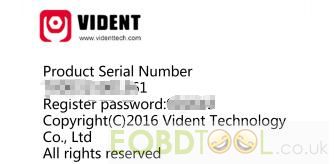
Select “Setup”-> “About” to check the serial number and register password
A confirmation box will show confirming successful registration on the screen
Alternatively, you can register the product in the member center when logged in on official website
Step 4: Update the software
1.Close the iScanzilla software, confirm the Vident scanner is turned off firstly, and then remove the TF card from your tool to connect it to the PC via a TF card reader
2.Once the TF card has been detected by windows, run the iScanzilla software and login again.
Click “My Updates” icon, wait a few seconds, and a list of the available software updates will appear
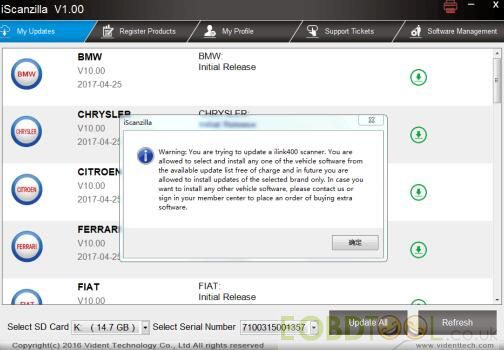
Note: Make sure the correct serial number is displayed in the drop-down list
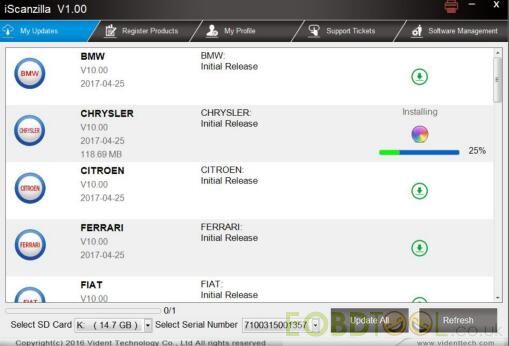
Click the “Update” button to download and install available updates
Please kindly notice:
The update process can take a long time. If your tool has not been updated recently, it may take a few hours for the update process to complete. Once the update has completed, don't forget to 'safely remove' the SD card in Windows before unplugging it, to avoid the possibility of data corruption.
Part 2: VIDENT update cost after the free period
If your free updates ran out, your tool will continue to function – it will not 'time out' – but you will no longer be able to access the update servers. Should you wish to continue updating your tool, you will need to purchase an update package. Please go to official website and log in to process the purchasing or contact your distributor.
| image | Model No. | Functionality | Free Update period | Update cost/year after the free period (USD) |
|
iLink 400 | Full System Single Make Scan Tool |
3 years | 50 |
| iLink 440 | Diagnostics on four major systems +EPB+ Oil+ Battery Configuration | 3 years | 50 | |
| iLink 450 | Full Service Tool | 3 years | 50 | |
 |
iAuto700 | iAuto700 Professional All System Scan Tool |
3 years | 50 |
Note:
1.Your free software update license is valid for 3 years (36 months) from the date of registration.
2.When your free license expired, your tool will not be allowed to install new updates unless correct amount of yearly subscription fees are paid to our account. However, you can still use all software/updates installed in your tool before the expiration date, and you will not be charged if you decide not to have new updates for your tool.
3.Your license will be renewed for another 12 months from the date of payment.
Part 3: How to buy extra software for VIDEN iLink400
iLink400 is authorized with one free software when delivery and can cover up to six vehicle makes. More software can be added anytime at extra cost. You can contact the reseller or following the steps below to buy extra software.
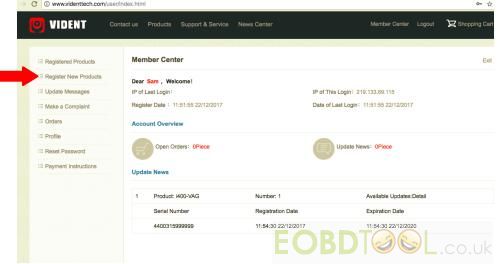
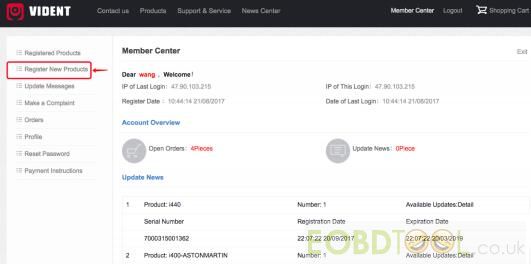
Step 1: Log in at website www.videnttech.com and go to your Member Center, click Registered Products
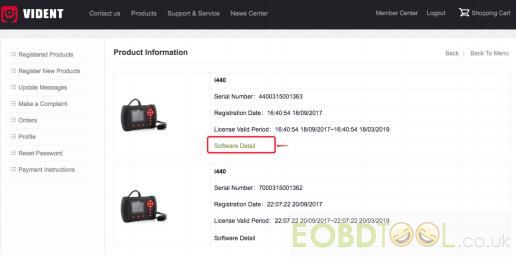
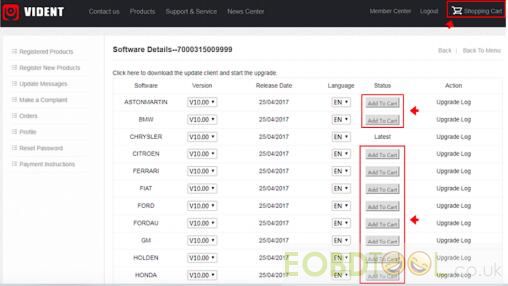
Step 2: Find the iLink400 serial number you wish to adds extra software and click the Software Details
Step 3: You will see all software already installed on this tool as well as all software available to add. Select the software you need and click “Shopping cart” on the upper right corner
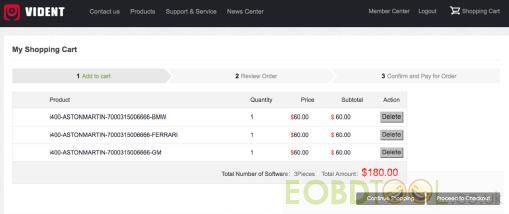
Step 4: You can manage your shopping cart by clicking “Delete” to delete the software that you don’t need or click “Continue Shopping” to go back to Member Center page to add more into the cart.
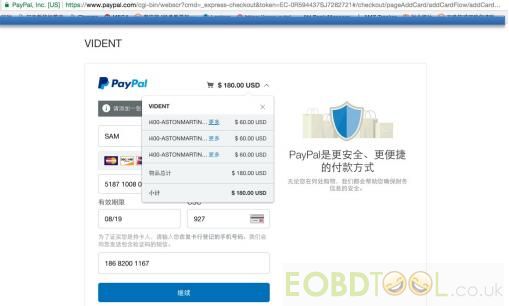
Step 5: If select “Continue shopping”, you will enter payment page.
Check out through Paypal
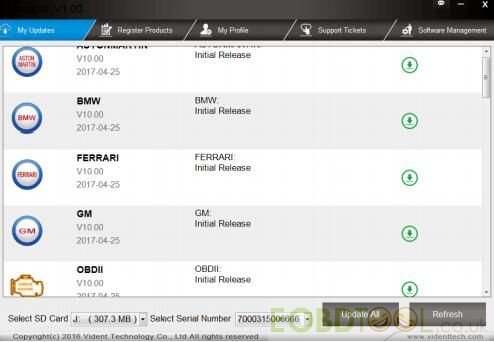
Step 6: Log in the update client iScanzilla
When the payment has been made successfully, the software you purchased would be listed in the available updates list for you to download.
That’s all. Hope it’s helpful!